Choose a box and a small collection
A shadow box can give keepsakes a place to live without committing them to a permanent arrangement. Start with a front-opening box if you expect to change the display often; it will be easier to reach than one that must be taken off the wall and opened from behind. Check its interior depth before gathering items. Flat paper pieces, a ribbon and one or two lightweight objects are usually easier to arrange than a box full of bulky souvenirs.
Pick a theme narrow enough to finish in an afternoon: one trip, a concert, a favorite season or a handful of family photos. Set aside more candidates than you need, then choose the pieces that tell the story at a glance. You do not have to use every ticket or card. If fandom is part of the collection, you can browse Fan Communities · Star Boulevard for ideas about what you might want your display to celebrate.
Prepare a backing that is easy to change
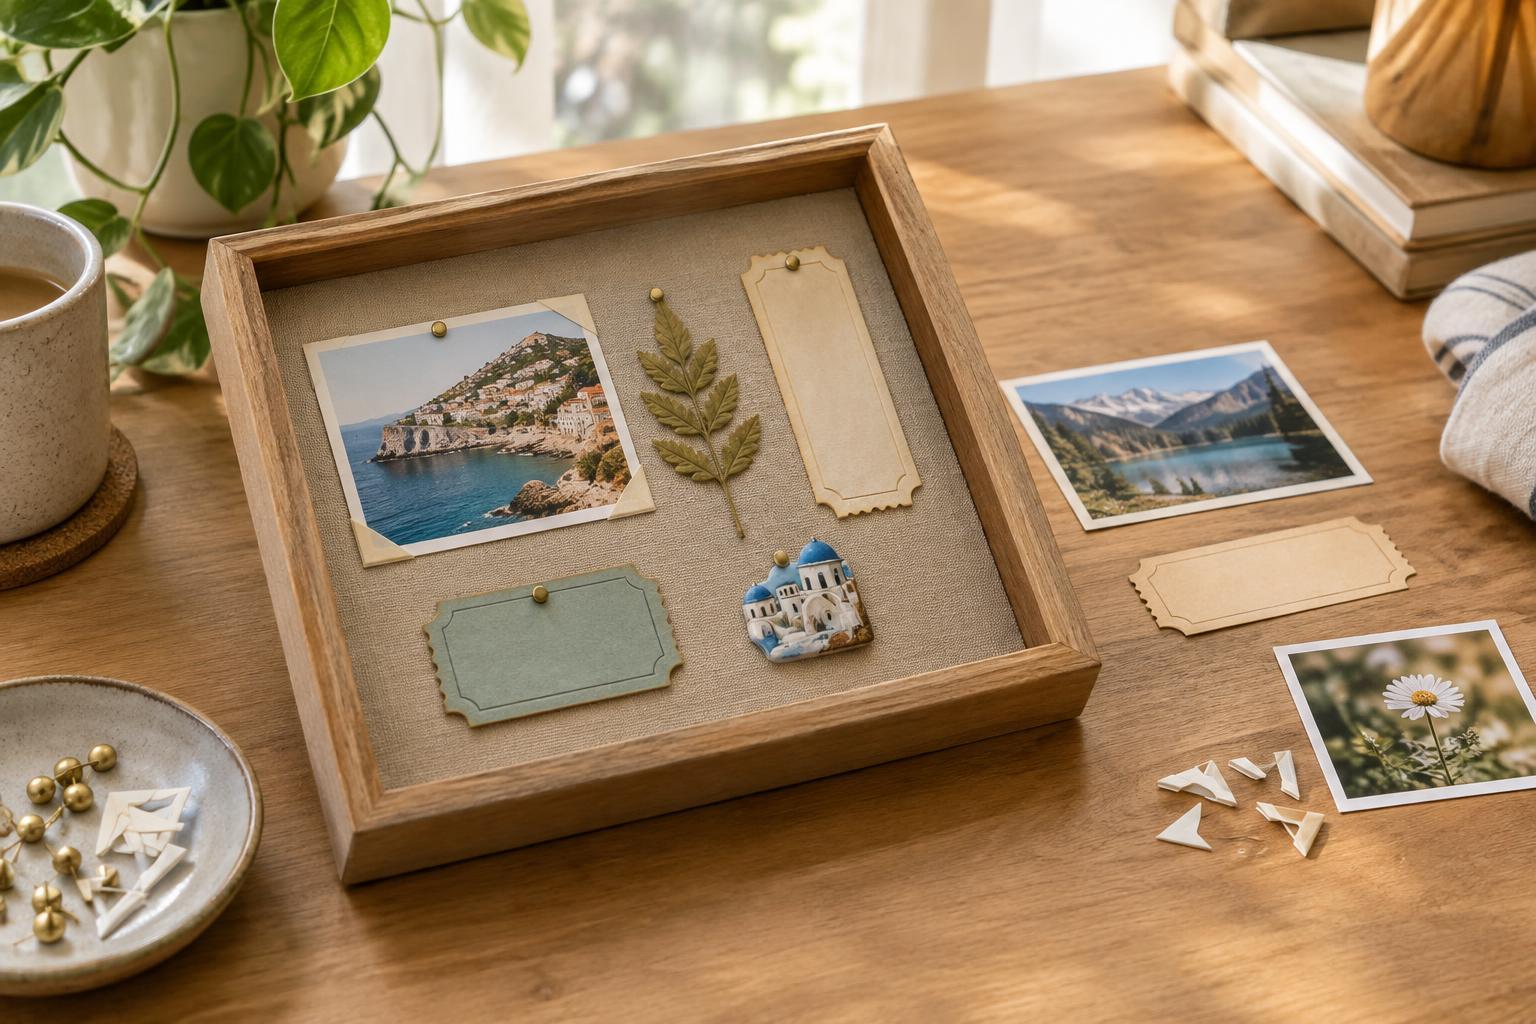
Check whether the box has a removable backing and what it is made of. A cork or fabric-covered insert can make rearranging simple, but pins should go only into a backing designed to accept them. For a plain rigid backing, cut a piece of sturdy cardstock to fit inside it. You can attach items to that separate sheet and replace the whole arrangement later, rather than repeatedly fastening things to the box itself.
Before attaching anything, place the empty box on a table and lay out your materials: a ruler, pencil, scissors, removable photo corners or acid-free sleeves for paper items, and a soft cloth for the front panel. Test any adhesive on a spare piece of similar material first. For items you cannot replace, such as an original photograph or signed program, a sleeve or photo corners may be preferable to putting tape directly on the keepsake. If an object is too heavy to stay put securely, leave it out rather than relying on a small adhesive dot.
Arrange first, attach second
Place the backing flat on your work surface and set your largest piece slightly off center. Add smaller items around it, leaving some open space so each piece remains visible. Overlap can work well for ordinary copies or replaceable scraps, but avoid covering details you want to remember, such as a handwritten note. Take a quick photo of the loose arrangement before you fasten it; it gives you a reference if the layout shifts while you work.
Close the box gently without securing the backing and look at it from across the room. This quick check reveals whether an object presses against the front panel or a favorite detail disappears in a corner. Adjust the layout, then fasten one item at a time, beginning with the largest. A music-themed box might pair a program with a photo and a small paper memento; if you want another theme for a future rotation, browse Music and Performance · Star Boulevard and jot down what you would enjoy displaying.
Place it safely and make swapping simple
Once the arrangement is secure, wipe the inside of the front panel and close the box. Put it somewhere stable and away from spills. If you plan to hang it, follow the box maker’s mounting directions and use hardware suited to the wall and the box’s filled weight. A shelf is another option if the box is designed to stand on one and cannot easily be knocked over. Keep delicate paper out of prolonged direct sunlight, which can affect its appearance over time.
Store unused pieces together in an envelope or folder labeled with the display theme. When you want a change, you can swap the cardstock insert or rearrange a few items instead of starting from scratch. A film-night version, for example, could use a postcard and a favorite photo rather than an entire stack of souvenirs. For more ideas to browse before your next refresh, try Film Culture · Star Boulevard. The best rotation schedule is simply whenever the display stops catching your eye.