Start with a small, repeatable setup
Watercolor becomes easier to understand when you change one thing at a time. For a short practice session, set out a sheet of watercolor paper, two colors, a medium round brush, a mixing area, two cups of water and a cloth or paper towel. One cup can be for rinsing; the other can stay relatively clean for mixing. Cut or divide the paper into several small practice spaces so each attempt feels low-stakes.
Watercolor paper matters because it is made to handle moisture better than ordinary printer paper. It can still buckle, especially if it is thin or very wet, but it gives you more time to move color around. Keep your paper on a flat surface and place everything you need within reach. Before painting, make three small puddles of the same color: pale, medium and strong. They will help you see how much pigment is in your brush without guessing while you work.
Notice where the water is
There are two places to watch: the brush and the paper. A freshly rinsed brush may carry more water than you expect. Touch it lightly to your cloth before picking up paint, then make a test stroke. If the stroke leaves a spreading puddle, blot the brush again. If it skips across the paper, add a little water. The goal is not one perfect level of moisture; it is learning what each level does.
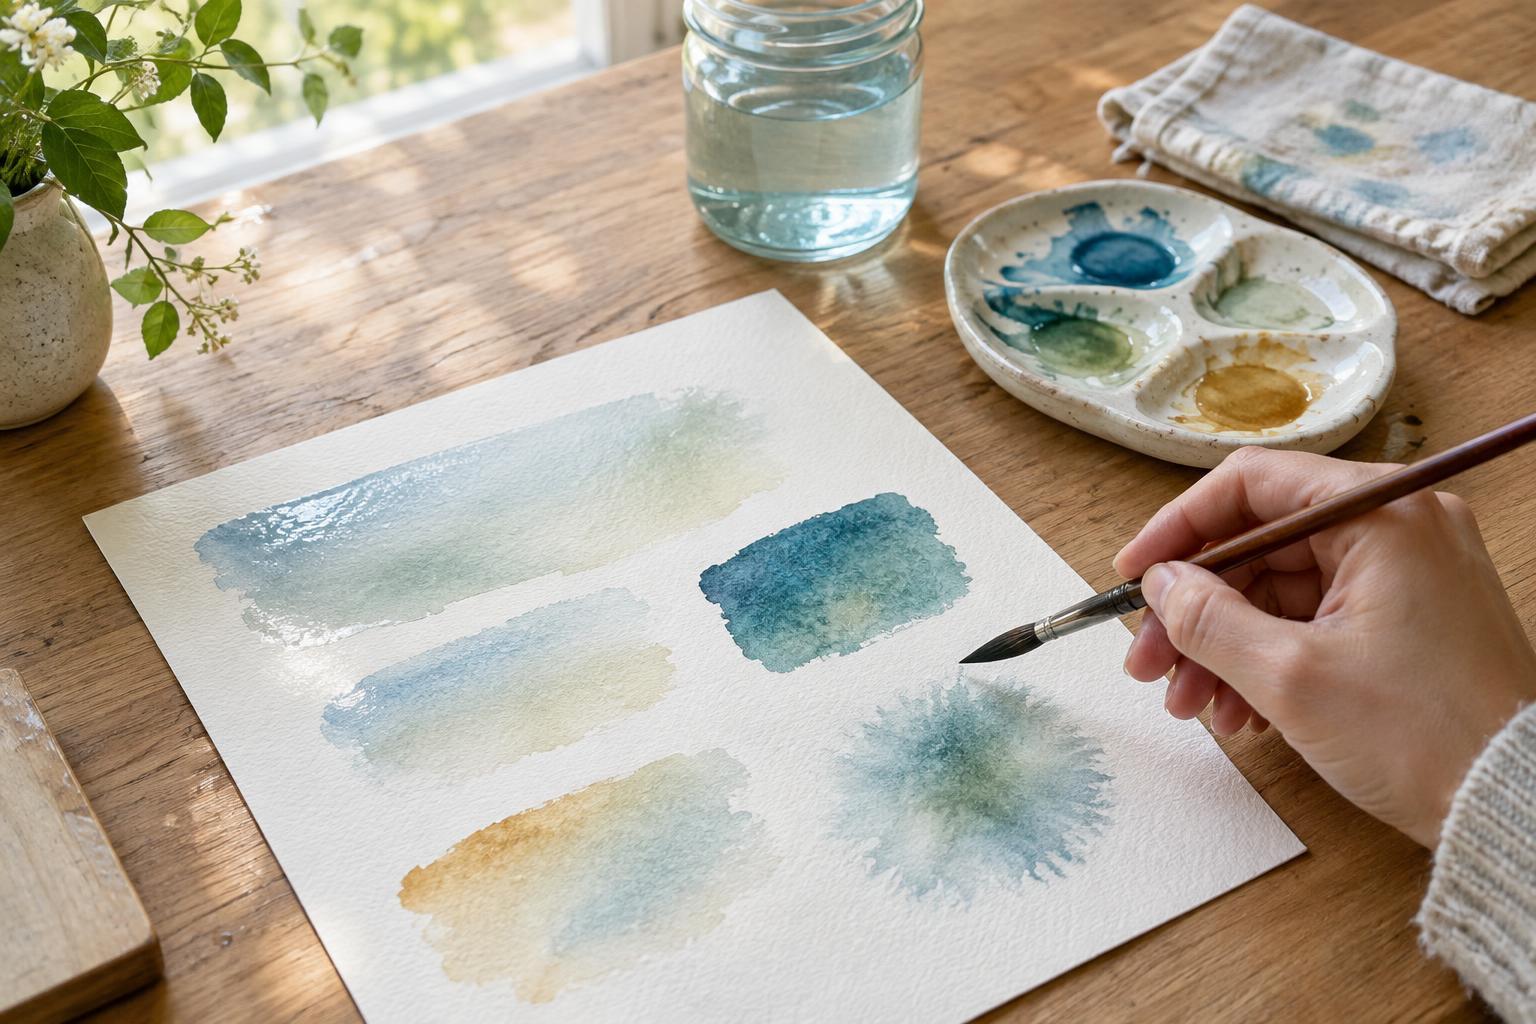
Try painting three rectangles. For the first, use a brush loaded with a generous amount of watery color on dry paper. For the second, blot the brush slightly before painting on dry paper. For the third, brush clean water over the rectangle first, then add color while the surface is still shiny. On dry paper, edges tend to stay more defined. On wet paper, color can travel beyond where the brush touched. Neither result is a mistake; each is useful for a different effect.
Look closely at the paper before adding more paint. A shiny surface has water sitting on it. A damp surface may look matte but still feel cool and allow color to soften. Fully dry paper is ready for a sharper new mark. You can use the edge of a practice piece to test its state rather than touching the area you want to keep clean.
Control color strength with pigment
A pale wash usually has plenty of water and relatively little pigment. For a deeper color, pick up more paint from the palette rather than repeatedly adding water to the same puddle. Test the mixture on scrap paper: color often looks darker while wet, so let a swatch dry before deciding how much more pigment you need.
Practice a graded wash by painting a short band of strong color, then adding a little clean water to your brush or mixture for each band below it. Let the bands meet while they are wet so the transitions can soften. If a bead of liquid gathers at the bottom, lift it gently with a rinsed, blotted brush. Scrubbing at the surface can disturb the paper and make the area harder to control.
Pigment also affects how far color moves. A heavily loaded brush touching wet paper may create a concentrated patch with soft edges. A very watery brush placed into a partly dry wash can push pigment outward and leave a pale spot with a darker rim, sometimes called a bloom. If that happens, keep the sheet as a sample. It shows you what the paper and brush were doing at that moment.
Let drying time choose your next move
Drying time changes with how much water you use, the paper, room conditions and the size of the painted area. Rather than relying on a timer, check the surface. Work into a shiny wash when you want colors to mingle freely. Add a mark to damp paper when you want a softer edge with less movement. Wait until the area is completely dry when you want a distinct line or a new transparent layer.
That transparent layer is called a glaze. Paint a simple pale shape, let it dry, then brush another light color over part of it. If the first layer lifts or smears, it may not have been dry enough, or you may have brushed over it too many times. Use a light touch and give each layer time to settle. While you wait, mix the next color, rinse a brush or work on a separate practice space.
Make a short practice session count
For a manageable weekend exercise, paint one page of small squares: dry-paper strokes, wet-paper strokes, pale-to-dark mixtures and a two-layer glaze. Label each square after it dries with what you tried, such as “blotted brush on damp paper.” Those notes will be more useful than trying to make every square look polished.
Finish by painting a simple subject, such as a leaf, mug or piece of fruit, using just two or three shapes. Choose where you want a crisp edge and where you want a soft one. Mix a light color first, save your strongest pigment for a few details and pause before painting over a damp area. Watercolor control grows from noticing what happened and adjusting the next brushful—not from getting every mark right the first time.