Start with a tray and a manageable workspace
A small unfinished tray is a satisfying project because you can work on it in stages without filling your whole weekend. Choose a solid-wood tray if possible: it gives you room to smooth rough spots without worrying about sanding through a thin veneer. If your tray is veneered or already coated, identify what is on the surface before sanding. A light scuff may be enough for an existing finish, while aggressive sanding can damage veneer.
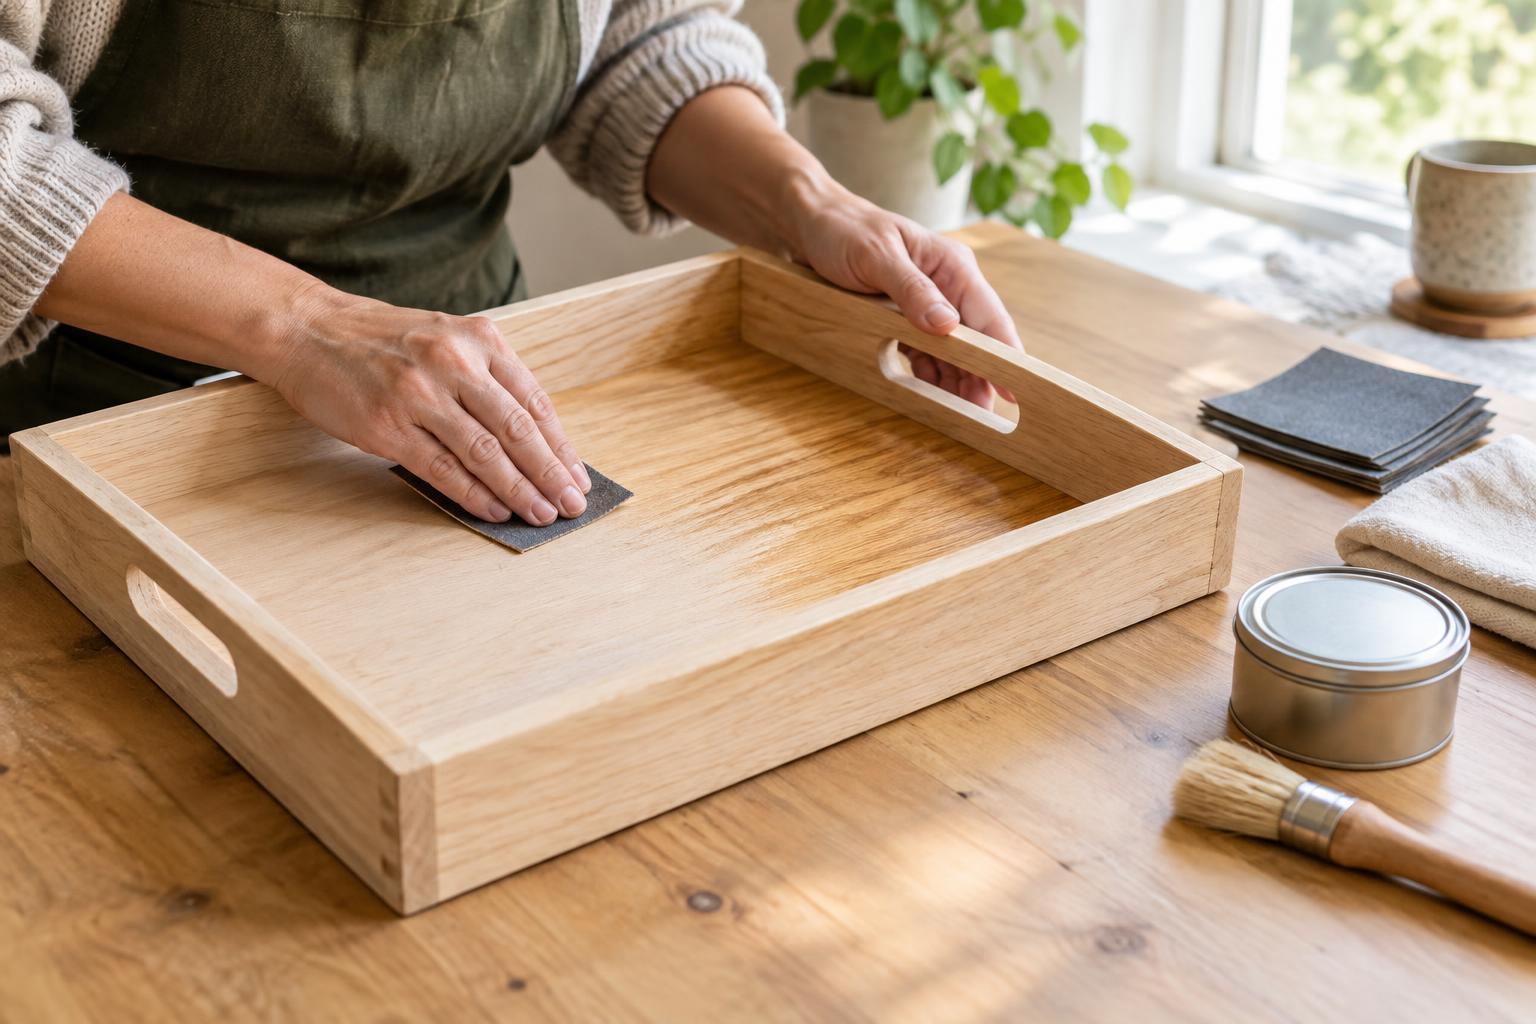
Gather sandpaper in a few grits, such as 120, 180 and 220; a sanding block; a soft brush or vacuum; clean, lint-free cloths; and the finish and applicator specified on its label. A folded piece of sandpaper helps with tight inside corners. Remove handles or other hardware if they come off easily, and set the pieces aside together. Cover your work surface, arrange good lighting and ventilation, and keep the tray away from food preparation while you work.
Plan for more than the hands-on time. Sanding may fit into one session, but a finish often needs separate coats and a longer curing period before regular use. Read the product instructions first so you know its ventilation needs, recoat window and cleanup method.
Sand with the grain, not against it
Inspect the tray in angled light. Feel for rough patches on the base, rim and underside, and look for glue residue near joints; finish may not absorb evenly over leftover glue. Begin with 120-grit paper only if the wood is noticeably rough. For a tray that already feels fairly smooth, starting at 180 grit may be enough. Wrap the paper around a block for broad, flat areas so your pressure stays even.
Move in the direction of the wood grain using light, steady strokes. Sand the base and outer sides first, then work along the rim and into the inside corners with folded paper. Ease sharp edges slightly so they feel comfortable to hold, but avoid rounding them so much that the tray changes shape. End grain, such as exposed wood at the ends of boards, may need a few extra passes to feel as smooth as the surrounding surfaces.
Progress to finer paper rather than trying to erase coarse scratches with finish. After each grit, remove dust and check the surface in good light. When the tray feels consistently smooth, vacuum or brush it thoroughly, then wipe it with a clean cloth as directed by your finish’s instructions. Dust left in corners can become visible once a coat is applied.
Choose a finish for the way you will use it
Think about what the tray will carry. For keys, books or other dry objects, many wood finishes can provide a useful protective surface. A tray used for drinks benefits from a finish intended to resist occasional moisture, though coasters and prompt cleanup still help protect it. If food may touch the wood directly, choose a product whose label specifically supports that use and follow its curing directions. Alternatively, use plates, bowls or a liner rather than placing food on the tray itself.
A clear water-based finish can preserve a relatively pale look; some oil-based products give wood a warmer tone. The result varies by wood and product, so test a small spot on the underside first and let it dry before deciding. Follow the label for application, safety and disposal rather than mixing methods from different products.
Apply thin, even coats
Set the tray on clean supports so you can reach its edges without leaving fingerprints. Stir the finish if its instructions call for it, then apply a thin coat with a suitable brush, pad or cloth. Work across the base with the grain, continue along the sides and rim, and check inside corners for drips or pooled finish. Thin coats are easier to control than one heavy coat.
Let the first coat dry for the time stated on the container. Some finishes call for a light sanding between coats; if yours does, use the recommended grit and remove all dust before continuing. Water-based finishes can make wood fibers stand up after the first coat, so this light smoothing step may be especially noticeable. Apply any additional coats according to the product instructions, including guidance for the underside. If you use an oil-based product, handle used rags exactly as its label directs; oily rags can pose a fire risk if left in a pile.
Give the tray time before its first outing
The surface may feel dry before it has fully cured. Keep the tray in a clean, ventilated spot for the full period recommended by the finish maker, and avoid stacking objects on it in the meantime. Reattach any hardware once the coating is ready to handle, taking care not to overtighten screws.
For everyday upkeep, wipe the finished tray with a soft, slightly damp cloth and dry it rather than leaving water standing on the surface. If a spot later becomes rough or worn, check the finish label before touching it up. That small bit of preparation and patience turns a plain wooden tray into something you can reach for again and again.