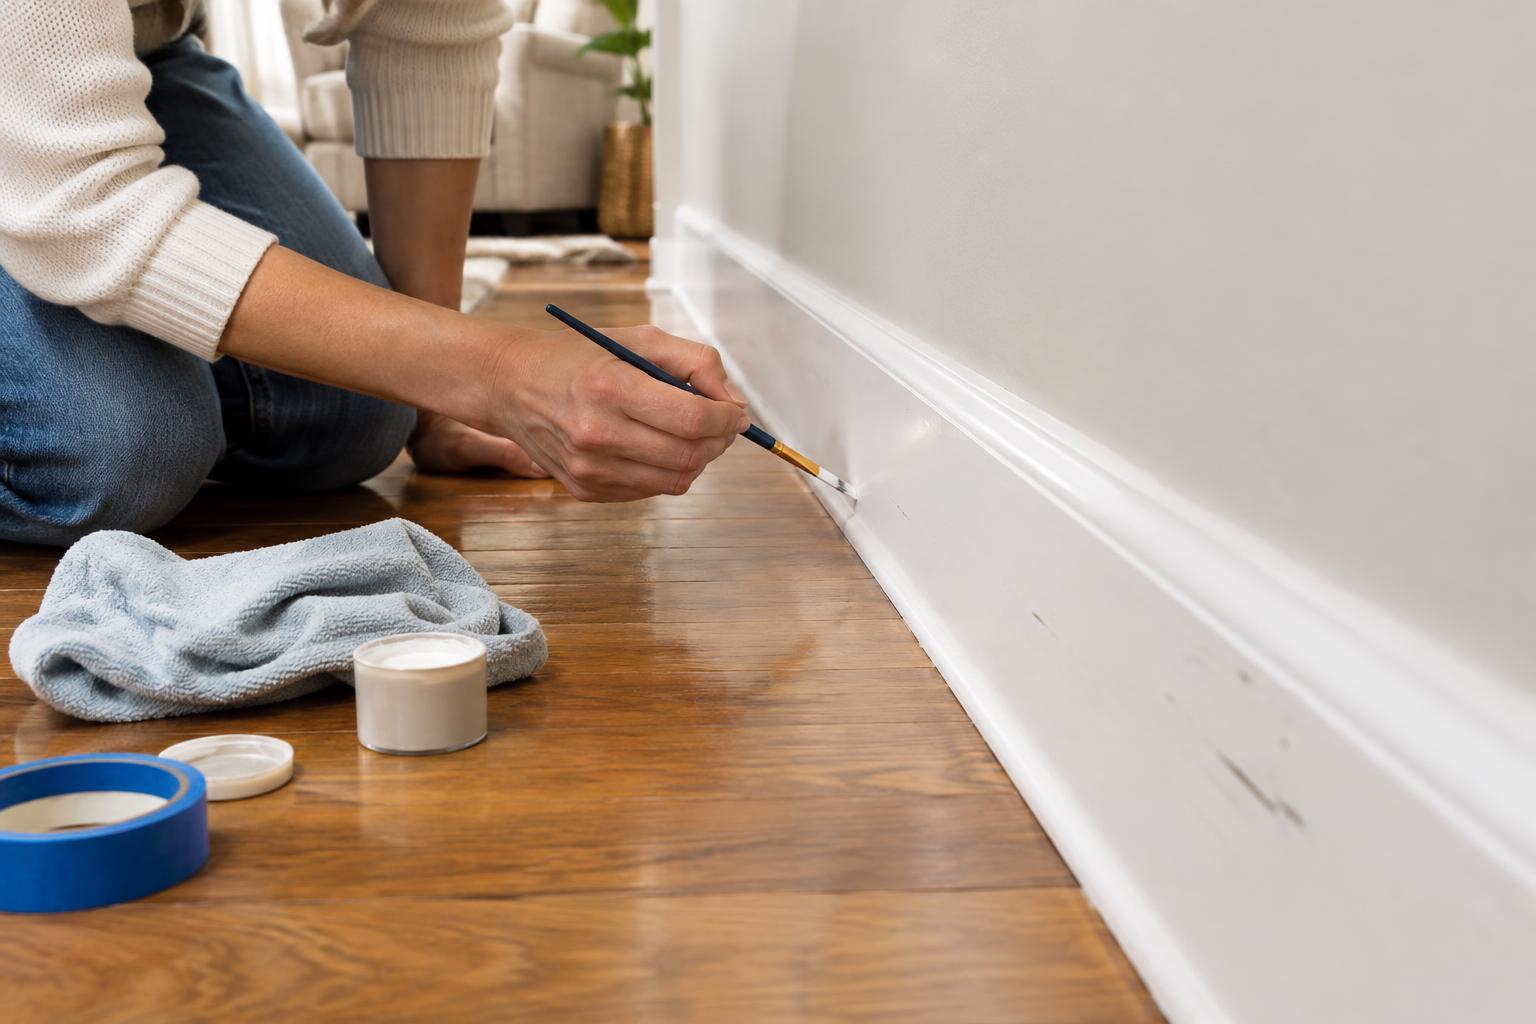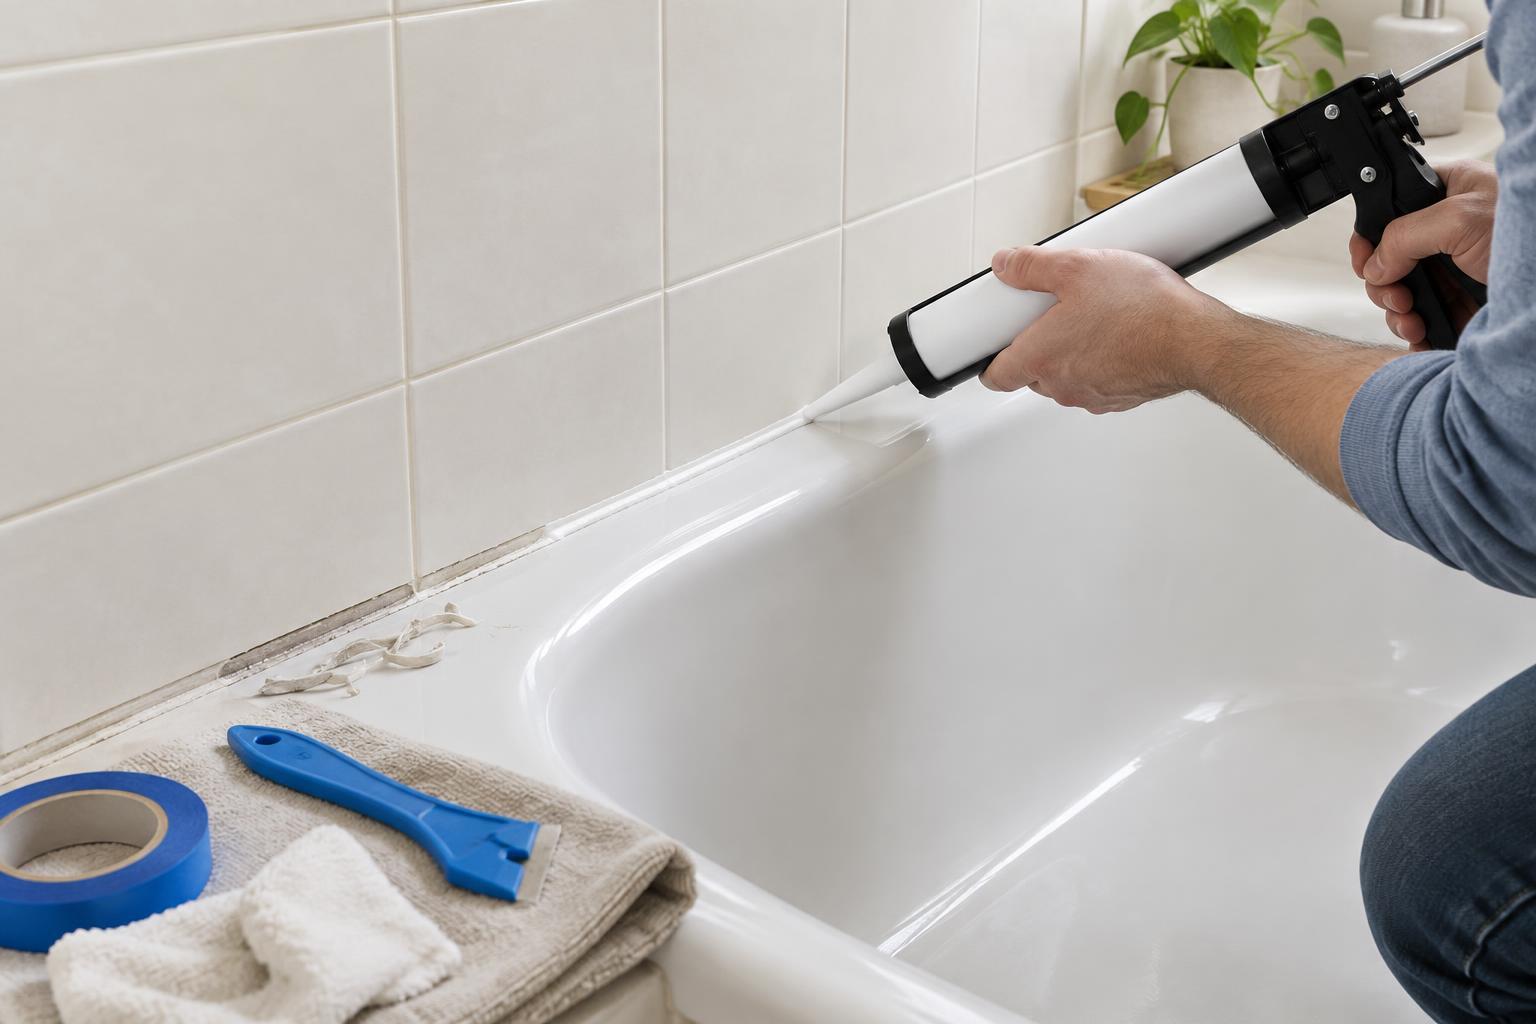
Decide whether this is a caulk job
Caulk helps seal the narrow joint where a bathtub meets a surround or where a sink meets a countertop or wall. If the existing line is cracked, peeling, missing in spots or pulling away from one side, replacing it may be a reasonable weekend project. A little surface discoloration is not always a reason to recaulk, but staining that remains in damaged caulk is often easier to address by removing the old line.
Check the area before you begin. A soft wall, swollen cabinet, loose fixture, persistent dampness or water appearing below the sink may point to a problem that new caulk will not solve. Fix the source of moisture first; if you cannot identify it, consider getting help. Caulk is meant for a joint, not for covering a large opening or holding a fixture in place.
Gather supplies and make room to work
For a small job, gather bathroom- or kitchen-rated caulk suitable for the surfaces you are sealing, a caulk gun if the tube requires one, a plastic scraper or caulk-removal tool, a utility knife, clean cloths and painter’s tape. Gloves can make cleanup more comfortable. Check the product label for surface compatibility, cleanup instructions and cure time. A silicone sealant is often used in wet areas, while some other products are designed for easier painting; choose for the particular joint rather than assuming any tube will do.
Clear bottles, soap dishes and other items from the work area. Plan for the sink or tub to stay dry during preparation and for the full curing period stated on the label. That waiting time matters more than how quickly the bead feels dry to the touch. Open a window or use appropriate ventilation if the product instructions call for it.
Remove the old caulk and dry the joint
Cut gently along both edges of the old caulk, taking care not to scratch the tub, sink, tile or countertop. Lift a loose end and pull away what you can, then use a plastic tool to remove remaining pieces. A caulk remover may help with stubborn residue if its label says it is safe for your surfaces. Work slowly around corners and avoid digging into grout or the material beneath the joint.
Clean away residue and ordinary surface dirt, following the cleaner’s directions. Do not mix cleaning products, especially bleach with other cleaners. Rinse or wipe as directed, then let the joint dry completely. Moisture trapped under a new bead can interfere with adhesion. If the gap continues to feel wet after the surrounding surfaces have dried, pause and look for a leak rather than sealing over it.
Apply a steady, modest bead
If you want crisp edges, place painter’s tape on either side of the gap, leaving enough exposed surface for the caulk to contact both sides of the joint. Cut the nozzle at a small angle, starting with an opening no wider than you need. It is easier to enlarge the opening than to control an oversized bead. If the tube has an inner seal, puncture it according to the package directions.
Hold the nozzle close to the joint and move at a steady pace while applying even pressure. Aim for a continuous bead that bridges the gap without piling up. Work in manageable lengths, then smooth the caulk using a tool or the method recommended by the manufacturer. Remove painter’s tape promptly, before the caulk begins to skin over, and touch up only where needed. Repeated passes can turn a clean line into a messy one.
Let it cure before the first splash
Follow the tube’s stated cure time before using the bathtub or sink. Keep the area dry during that period, and resist the urge to test the seal with water early. Once it has cured, look along the line for gaps or places where the caulk did not adhere. A neat bead should make contact with both sides of the joint rather than simply sitting on top of it.
To help the new seal last, wipe away standing water when convenient and keep the area reasonably clean. If a section pulls away again soon, investigate movement, lingering moisture or an unsuitable product before repeating the work. The satisfying part of this project is not just the brighter-looking edge: it is taking the time to give that small, splash-prone joint a sound seal.