Start with the holes you already have
Replacing cabinet hardware is easiest when the new pieces fit the existing holes. Before shopping, remove one knob and one pull from each style of door or drawer in the room. Check whether a piece uses one screw or two, and measure the distance between the centers of paired holes. That center-to-center measurement—not the pull’s overall length—is the number to match when you want to avoid drilling.
Measure several cabinets rather than assuming they are identical. A kitchen may have different hardware on upper doors, lower doors, and drawers. Note where each style appears, along with the number of pieces you need. Keep the old hardware and screws together until the replacement is finished; they are useful for checking fit and can go back on if a new piece does not work.
Choose hardware that fits the cabinet, not just the look
For a straightforward swap, choose new pulls with the same center-to-center spacing as the old ones. A single-hole knob can usually be replaced by another single-hole knob, provided its base covers the hole neatly. Check that the new hardware sits comfortably in your hand and leaves enough room to grip it when mounted on a door or drawer.
Screw length matters too. A screw that worked with a thin knob may be too short for a different design, while one that is too long may prevent the hardware from tightening against the cabinet. Test one new piece with the cabinet’s actual door or drawer front before opening every package. Follow the hardware maker’s guidance for screw size, and avoid forcing a screw that does not thread smoothly.
If you want a pull where a knob used to be, or a new pull has different hole spacing, plan for a more involved project. The unused hole may need filling and refinishing, and the new holes must be laid out carefully. On a stained or textured finish, a patch can remain visible. If you would rather keep this a short weekend job, matching the existing hole pattern is the safer choice.
Make one reliable layout before drilling
When new holes are necessary, decide where the hardware should sit before marking the cabinets. For doors, measure from the same two reference edges on every matching door, such as the opening edge and the top or bottom edge nearest the handle. For drawers, decide whether to center the hardware on the drawer front or within its raised or recessed panel. Using the same reference points matters more than estimating placement by eye.
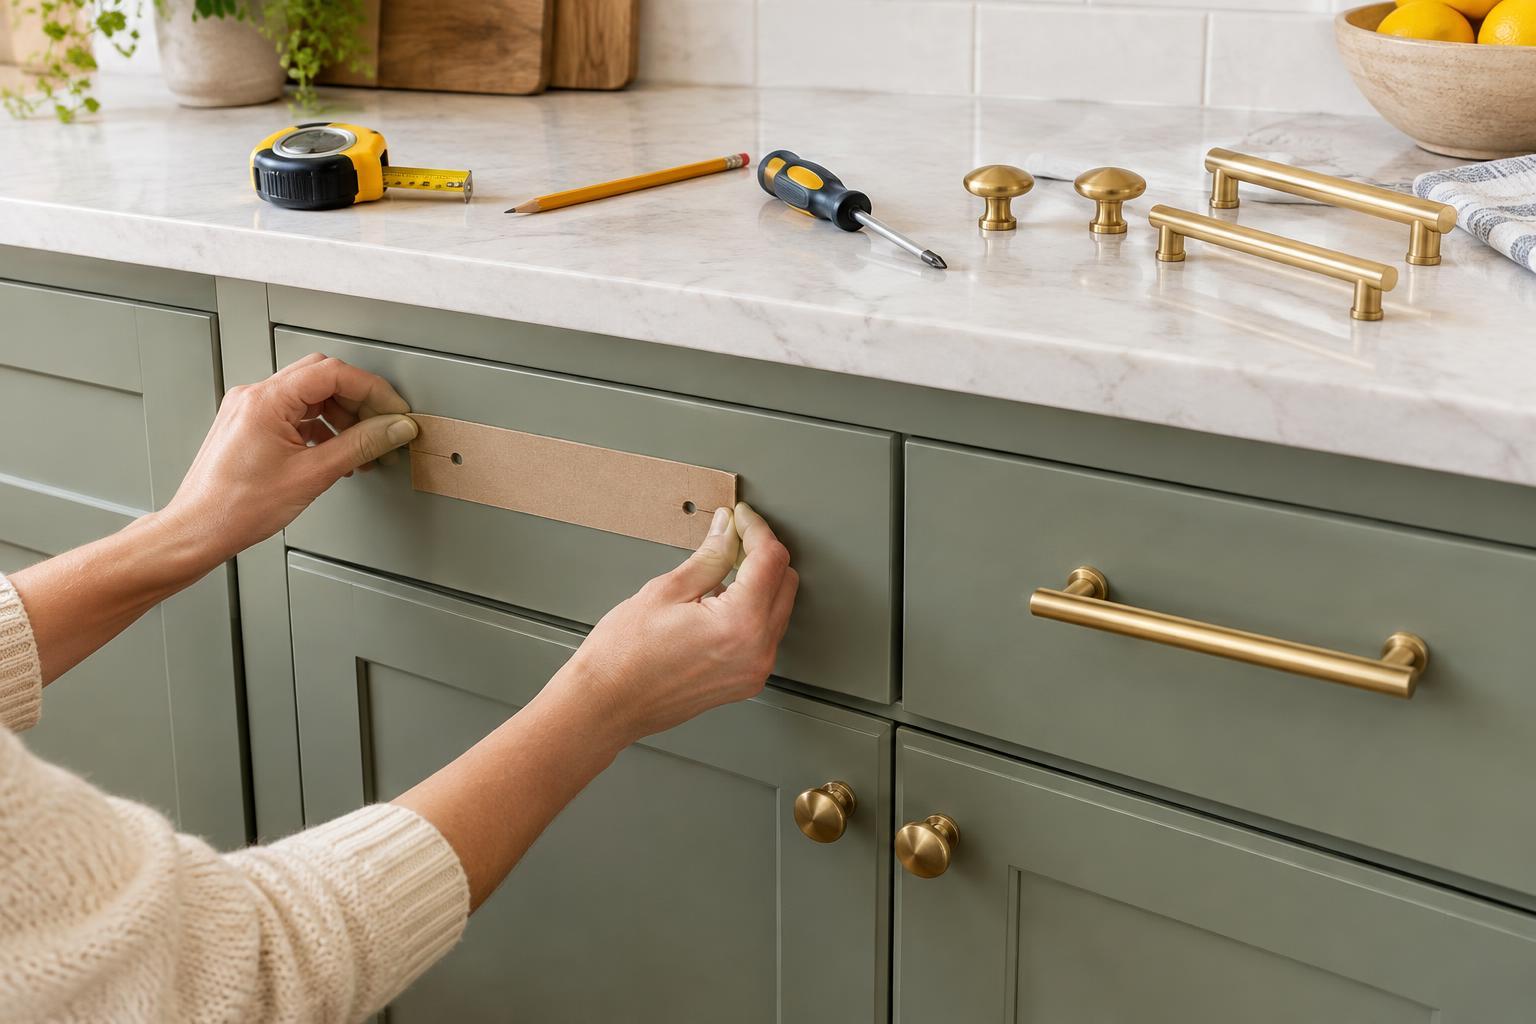
A commercial cabinet-hardware jig can make repeated marks easier, but a firm cardboard or thin-wood template can also work. Mark the reference edges clearly, then measure and mark the screw positions. For a two-hole pull, check its center-to-center spacing against the marks. Test the template on a scrap piece or a single inconspicuous cabinet front before using it throughout the room. Close the door or drawer and step back to check the position from a normal viewing distance.
Cabinet doors may be mirrored, so a template made for a left-hinged door might need to be flipped for a right-hinged one. Label both sides and confirm which edge you are measuring from each time. If a mark seems out of line with its neighbors, stop and remeasure rather than hoping the hardware will hide the difference.
Drill carefully and install one piece at a time
Take off the door or remove the drawer if that gives you a steadier work surface. Protect the finish, secure the piece so it cannot shift, and wear eye protection. Place a scrap-wood backer firmly against the exit side of the hole to help reduce splintering. Mark the hole centers, then drill a small pilot hole straight through before using a bit sized for the hardware screw. Check the screw and the maker’s instructions rather than guessing at the final bit size.
Install the first piece before drilling the rest. Its screws should pass through without pulling the hardware out of position. If they do not, check your measurements and template before making more holes. Tighten screws until the knob or pull feels secure, but do not overtighten; excessive force can damage a finish or strip the threads.
Once the first door or drawer looks and feels right, work in small batches. Mark a few pieces, double-check their orientation, drill, and install. This rhythm takes a little longer than marking everything at once, but it gives you chances to catch a mistake before it spreads across the cabinets.
Finish with a quick alignment check
Close every door and drawer and look across each row of hardware. Handles should appear consistent relative to nearby edges, open without rubbing, and feel secure. If a screw loosens during use, tighten it gently. Set aside the old hardware until you are satisfied with the result.
The simplest way to prevent misaligned holes is to avoid making new ones when compatible hardware will do. When drilling is unavoidable, consistent reference edges, a tested template, and one successful installation before the rest can turn a fussy task into a manageable weekend project.