Start with a small, steady setup
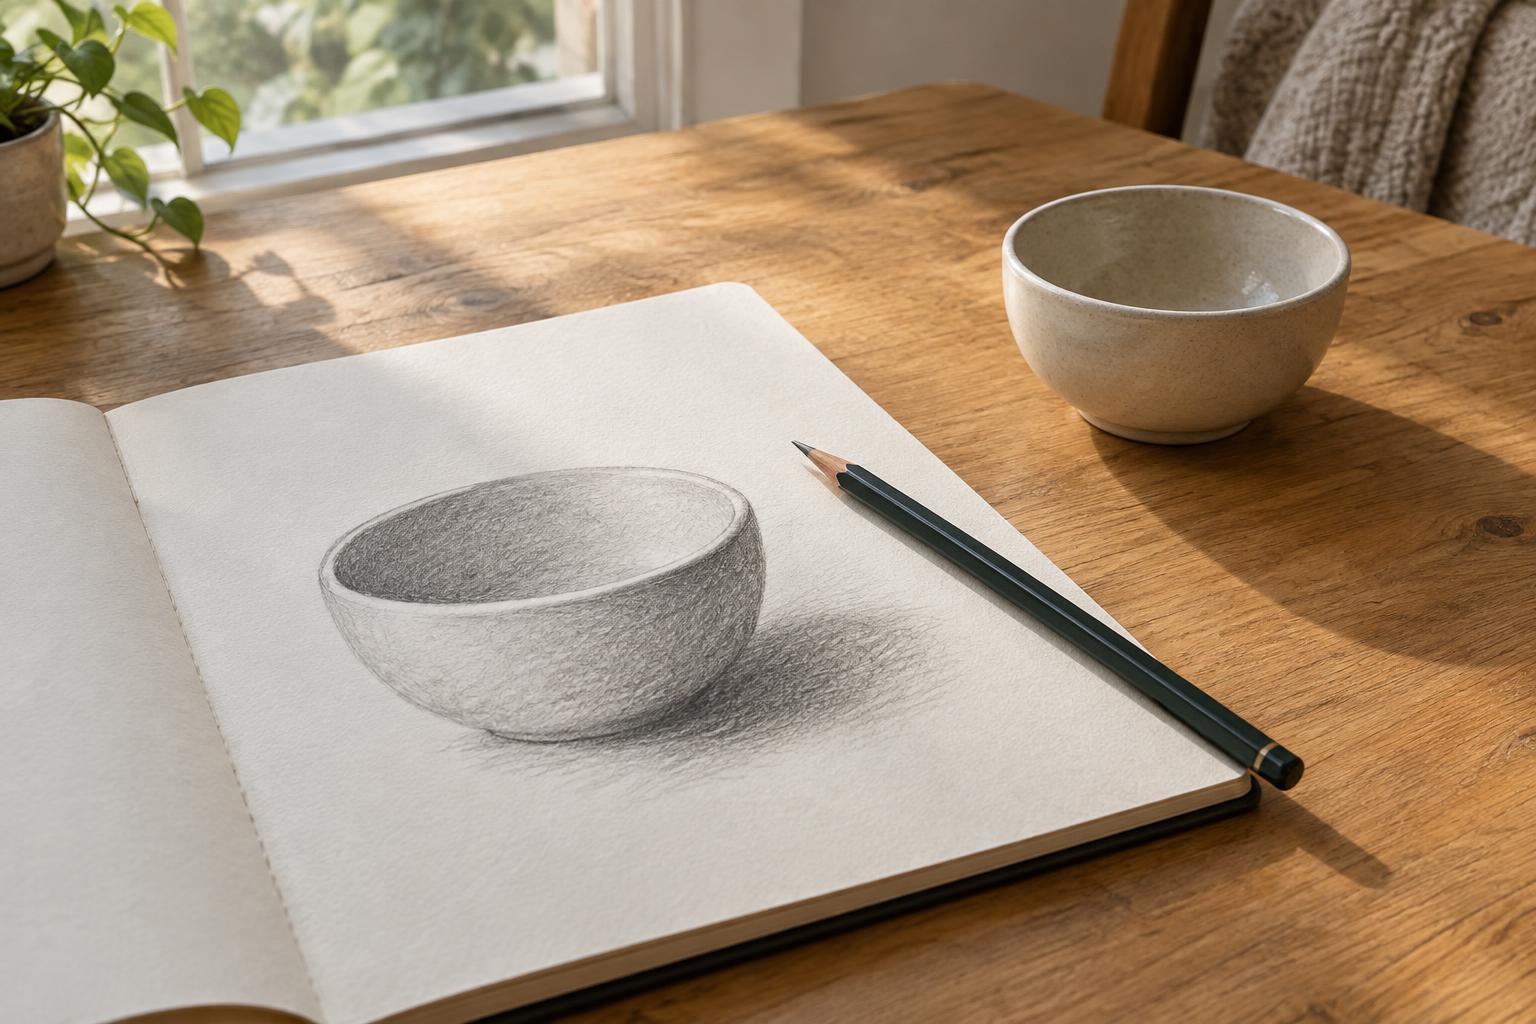
Shading is the practice of making some parts of a drawing lighter or darker so an object appears to have form. To begin, you need only a pencil, a few sheets of paper and something simple to draw. A mug, an apple or a small box will do. Choose an object with a clear outline rather than a busy pattern, and place it where it can stay still for fifteen to twenty minutes.
Use one main light source, such as a window or desk lamp. If several lights are competing, the shadows can be harder to read. Sit where you can see both a bright area and a darker area on the object. Before drawing, notice where the light seems to come from, which part of the object looks darkest and where its shadow falls on the table. Your aim is not to copy every detail; it is to notice a few useful differences.
Learn what your pencil can do
On a spare corner of paper, draw five small boxes in a row. Leave the first white. Shade the last as dark as you comfortably can without pressing hard enough to damage the paper. Fill the boxes between them with steps that grow gradually darker. This little value scale gives you a reference while you draw: you can ask whether a shadow belongs near the middle or at the dark end.
Try making a second strip without separate boxes. Begin with barely visible strokes and slowly add layers as you move across the page. Hold the pencil farther back for light, loose marks, then closer to the tip when you need control. Keep your strokes moving in a similar direction at first so you can see the effect of each layer. If the result looks striped, go over the area lightly again rather than trying to fix it with one heavy stroke.
Shade a simple object in three passes
Place your object on a plain surface and sketch its outline with light marks. Include the rough shape of the shadow it casts. Then look for the largest light and dark areas, ignoring small reflections and texture. In your first pass, leave the brightest area as bare paper and give the darker areas a gentle, even tone. You are making a map, not finishing the drawing.
In the second pass, build darker tones where the object turns away from the light and where its cast shadow looks deepest. A cast shadow is the dark shape the object makes on another surface; it may be especially dark close to the object. In the third pass, compare the areas you have drawn. If everything looks equally gray, deepen just one or two dark regions. Keeping some paper untouched makes the light areas easier to see.
Use different shapes to notice different shadows
A box is a helpful next subject because its flat sides often show distinct changes in value. Try giving each visible face a different tone, then shade the surface beneath it. A mug presents another challenge: its curved side may change gradually from light to dark, while the handle creates smaller pockets of shadow. You can draw either one more than once without needing to invent a new exercise.
Resist the urge to outline every shadow with a dark line. Some changes are gradual, while others have a clearer edge. Look at the object before deciding which to draw. If an edge is hard to judge, narrow your eyes briefly to make small details less distracting. You can also compare two places directly: is the inside of the mug darker than the table shadow, or lighter? Such questions are often more useful than asking whether the whole drawing looks realistic.
Make a short session worth repeating
For a manageable weekend practice, spend a few minutes on a value scale, ten minutes on one object and a few minutes reviewing the result. Put the drawing beside the object and identify one area where the light-to-dark pattern works and one area you would change. Write a short note on the paper if it helps, such as “leave more white” or “build the shadow slowly.” That gives you a clear starting point next time.
If you have another short session available, draw the same object again instead of seeking a more complicated subject. You might move the lamp, rotate the object or focus only on its cast shadow. Changing one thing at a time makes it easier to notice what your pencil marks accomplish. Over a few attempts, the goal is not a perfect drawing but a more deliberate habit: look, compare, make a light mark and darken it only when you have a reason.