Start with the wall, not the filler
Removing a picture or shelf often leaves a collection of tiny holes that seem too small to worry about. Fresh paint, however, can make each dip more noticeable, especially when light falls across the wall. Filling the holes first is a manageable weekend project, and the actual hands-on work is usually brief. Allow extra time for the filler and primer to dry before painting.
This approach is for small nail or picture-hook holes in painted drywall. Before you begin, look closely at each spot. If a hole has crumbling edges, a widening crack, moisture staining or damage larger than a simple fastener mark, it may need a different repair. Plaster walls and wood trim can also call for different materials and handling. For ordinary drywall holes, gather lightweight spackle, a small putty knife, a damp cloth, fine-grit sandpaper or a sanding sponge, a clean rag, primer and your wall paint.
Move nearby furniture or cover it, and protect the floor beneath your work area. Pull out any remaining nail or hook carefully. Then wipe away dust and let the wall dry. If the edge of a hole is raised, gently remove only the loose material so the patch can sit level with the surrounding surface.
Fill each hole with a light touch
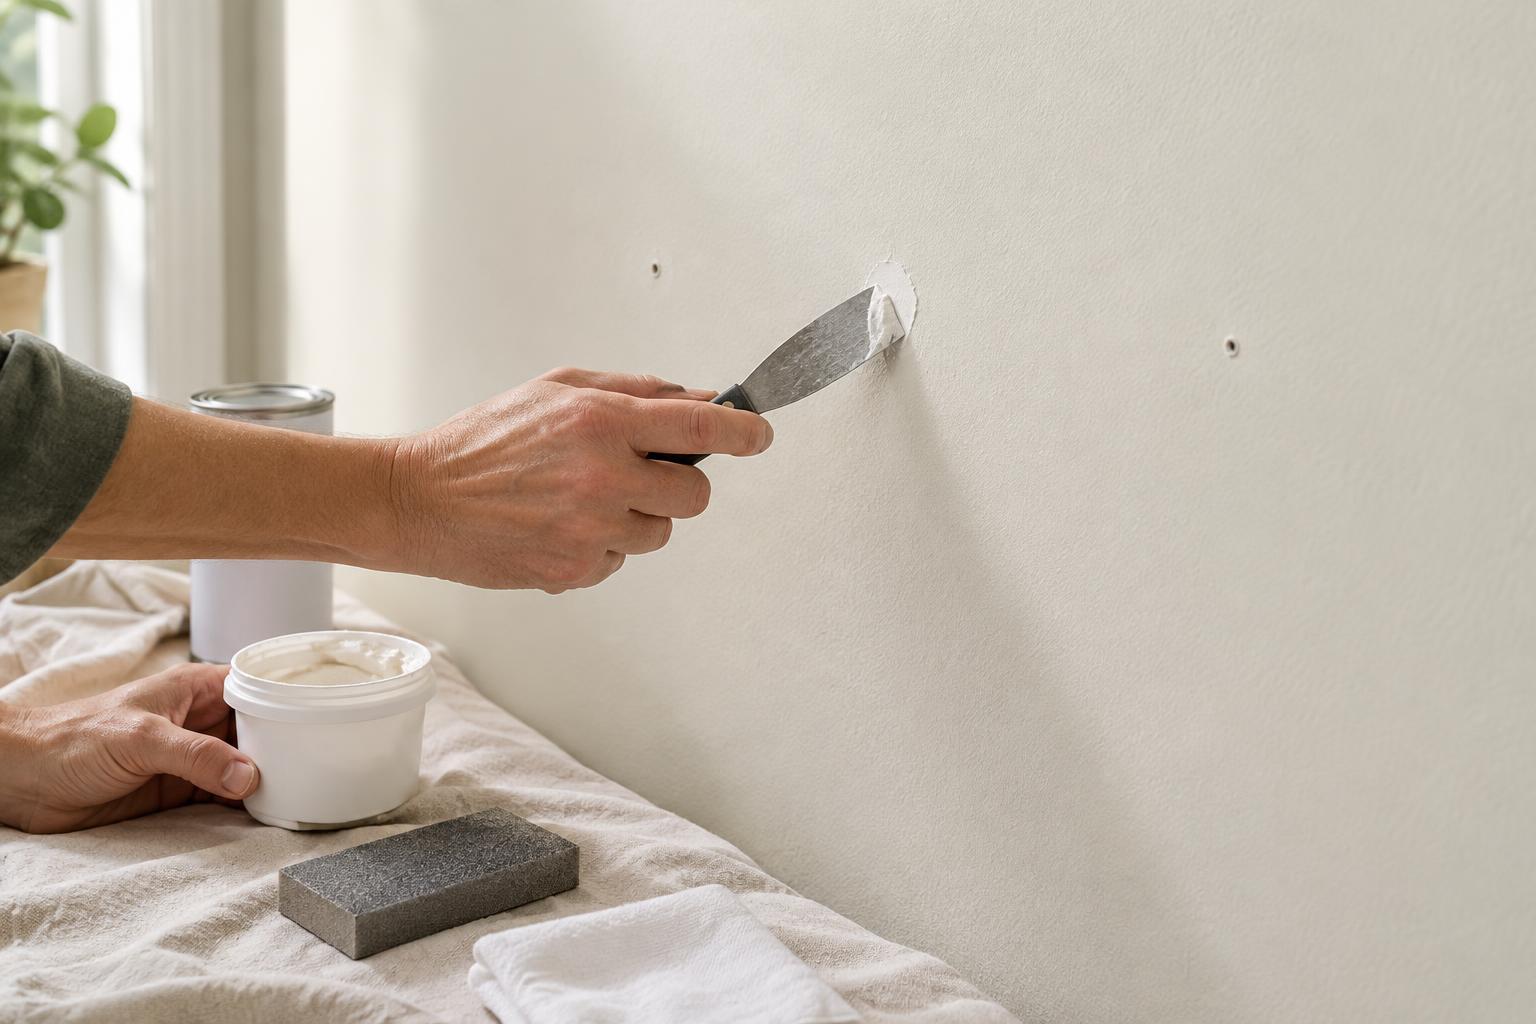
Stir or knead the spackle if its packaging calls for it. Scoop up a small amount on the putty knife and press it into the hole rather than simply spreading it over the top. Drag the knife across the spot to remove excess filler. You want enough material to fill the opening, but not a thick mound that will require extra sanding.
Check the patch from an angle. If the filler has pulled back below the wall surface, add a little more. Some products shrink as they dry, so a second thin application may give a smoother result than one heavy coat. Follow the drying guidance on the product you use; color and surface feel alone may not tell you whether the center is ready. Keep the putty knife clean as you work so dried bits do not leave grooves in the next patch.
Sand just enough to lose the edge
Once the filler is dry, sand gently with fine-grit sandpaper or a sanding sponge. Use a few light passes, then run your fingertips across the repair. The goal is a level transition you cannot easily feel, not a large polished area. Pressing too hard can remove the filler from the hole or scuff the surrounding paint and drywall paper.
Wipe away sanding dust with a clean, slightly damp cloth and allow the area to dry. Look at the wall in both direct and side light if you can. A ridge that is hard to see straight on may cast a small shadow from the side. If you find a low spot, apply another thin layer of spackle, let it dry and sand again. Before sanding an older painted surface of uncertain composition, consider whether disturbing the existing paint is appropriate; avoid creating unnecessary dust.
Prime the patch before you paint
Spackle can absorb paint differently from the surrounding wall. A small coat of suitable primer over the dry, dust-free patch helps create a more even surface for the finish coat. Let the primer dry according to its label, then paint. If you have the original wall paint, stir it well and test a small area first: even the same color may look different beside paint that has aged or has a different sheen.
For a few isolated holes, carefully blending paint around each repair may be enough. If the touch-ups remain visible, painting the entire wall from corner to corner can give a more consistent appearance. Use the same type of application tool where practical, since a brush mark may look different from a roller texture. Check the finish after it dries rather than judging it while the paint is wet.
Keep the project small and satisfying
If your free time is limited, split the job into short stages: prepare and fill the holes, return later to sand and prime, then paint once the primer is ready. Put your tools on a tray so you can move easily from one spot to the next, and wash the putty knife before filler hardens on it.
A careful patch does not require a complicated toolkit. Clean edges, thin applications and patience between coats do most of the work. Once the wall is painted, you can rehang artwork in the same place, choose a new arrangement or enjoy a clear stretch of wall without the old nail holes drawing your eye.