Start with the frame and the wall
Before picking up a hammer, look at the back of the art. Note its approximate weight, width, and hanging hardware: a sawtooth hanger, picture wire, D-rings, or a cleat. Check that the hardware is firmly attached to the frame. A wide or heavy piece may need two hanging points to keep it stable and distribute its weight. If the frame came with hanging instructions, use them as your starting point.
Next, identify the wall. Drywall, plaster, brick, and concrete need different approaches, and a fastener that works in one may not hold well in another. If you are unsure what the wall is made of, test an inconspicuous spot rather than guessing. Check for nearby outlets, switches, plumbing fixtures, or other clues that wires or pipes may be behind the surface. Do not drill where you cannot reasonably rule out hidden utilities.
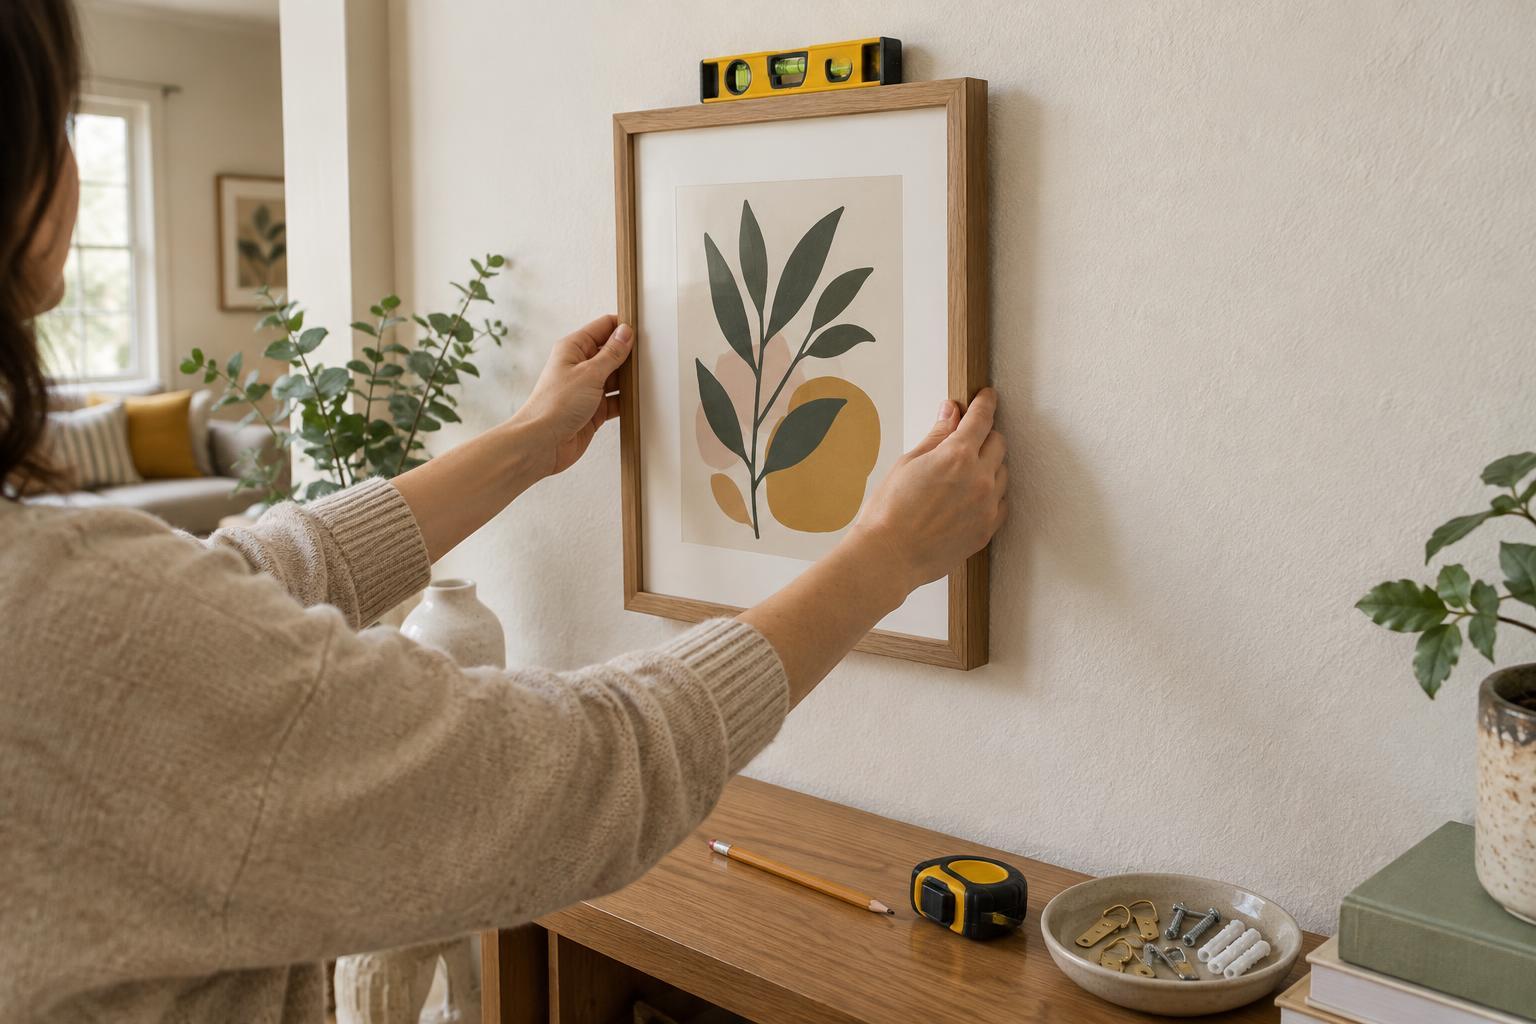
Gather a pencil, tape measure, level, painter’s tape, and the fasteners you plan to use. A second person is helpful for holding a large frame in place while you judge its position from across the room.
Match the fastener to the job
For a light frame on drywall, a picture hook designed for drywall may be enough. Heavier pieces often call for an anchor rated for the load or a screw secured into a stud. Fastener ratings depend on the wall material, correct installation, and sometimes the direction of the load, so read the package rather than relying on a rule of thumb. Include the frame and glass when considering weight, and choose hardware with a comfortable margin above that weight.
On plaster, take care to avoid cracking the surface. A suitable pilot hole and a fastener intended for the material can help, but the condition and thickness of old plaster vary. Masonry calls for a masonry bit and a compatible anchor or screw; an ordinary drywall anchor is not a substitute. If a wall feels loose or damaged, repair it or choose another location before hanging anything substantial.
Match the wall fasteners to the frame hardware, too. Picture wire should be taut enough that the frame will not droop far below the hook, but it still needs to be attached securely. Two D-rings can hang from two separate fasteners for a steadier result. For a large, valuable, or unusually heavy piece, consider getting experienced help rather than testing the limits of an unfamiliar wall.
Find the real hanging point
Decide where the art looks good before making a hole. Hold it against the wall, step back, and check how it relates to nearby furniture, doorways, and other frames. Place a short strip of painter’s tape along the wall at the desired top edge, then mark the center of the frame’s intended position on the tape or lightly on the wall.
Now measure the distance from the top of the frame to the point where it will actually rest on its hook or screws. For a sawtooth hanger or D-rings, measure to the part that catches the fastener. For picture wire, pull the wire upward as it would sit when hung, then measure from the frame’s top edge to the pulled-up wire. Transfer that distance down from your top-edge mark to locate the wall fastener. This step prevents the common surprise of a frame landing lower than expected.
If you are using two fasteners, measure the spacing between the frame’s hanging points and mark both wall positions at the same height. A level or a straight piece of tape checked with a level will help keep those marks aligned. Measure twice before drilling.
Install, level, and check
Install each fastener according to its instructions, using the specified hole size if an anchor requires one. Keep the drill straight, clear away dust as needed, and avoid enlarging a hole by repeatedly adjusting its position. Hang the frame gently, then place a level along its top edge. Nudge it until it is level and look again from farther away; a perfectly level frame can still seem off if the furniture beneath it is crooked.
If the frame tilts again after you straighten it, check that the hanging points are secure and evenly placed. Small adhesive frame bumpers on the lower back corners can reduce movement and help protect the wall, but they do not replace proper fasteners. Give the piece a gentle stability check without pulling hard on it.
Finally, erase visible pencil marks and remove the tape. Keep a note of the fastener type and location if you might rearrange the room later. The project is finished when the art looks right and its support feels reliable—not merely when it appears straight.