Start with a safe inspection
Set the chair on a hard, level surface and take a few minutes to inspect it before reaching for tools. A soft rug or uneven floor can make a sound chair seem unstable. Move the chair to another spot, then press gently on opposite corners of the seat to see whether it rocks. Check that each leg reaches the floor and look underneath for loose screws, shifting joints or visible cracks.
There is an important difference between a chair that rocks on the floor and one that shifts under your weight. Rocking can come from uneven leg lengths or worn feet. Movement in the frame points to a connection that needs attention. If a leg is cracked, a joint opens noticeably when pushed, or the chair feels likely to collapse, stop using it until it has been properly repaired. A weekend project is not worth a fall.
Gather a small set of supplies
For a basic check, you may only need a screwdriver or the correct hex key, a clean cloth and a small piece of cardboard to test the space beneath a leg. Felt pads, adjustable furniture glides or a suitable wood glue may be useful once you know the cause. Keep a clamp handy for a loose wooden joint, but do not apply glue until you have checked how the joint fits together.
Clear a workspace where you can turn the chair over without damaging its back or arms. A folded towel protects both the chair and the floor. Take a quick photo of any hardware before removing it, and place screws in a dish so they do not disappear. These small preparations make it easier to put everything back as you found it.
Fix a chair that rocks on the floor
If the frame feels firm but the chair rocks, identify the leg that lifts when you press on the seat. Slide a thin piece of cardboard beneath that foot and repeat the test. This helps you estimate the size of the gap without making a permanent change. Also inspect any existing foot pads: a missing or compressed pad may be the whole problem.
Replace missing pads with matching ones, or use an adjustable glide if the chair design allows it. For a small gap, a securely attached furniture pad may be enough. Recheck the chair on more than one hard surface before altering a wooden leg. Cutting or sanding a leg shorter is difficult to undo and can create a new wobble if the floor, rather than the chair, was uneven.
Tighten hardware and repair loose wooden joints
On a chair assembled with screws or bolts, check each accessible connection and tighten loose hardware with the right tool. Turn gently: overtightening can strip threads or damage wood. If a screw keeps spinning without gripping, simply tightening it again will not solve the problem; the hole or fastener needs a suitable repair. Check the chair once more after tightening, since several slightly loose connections can add up to a noticeable wobble.
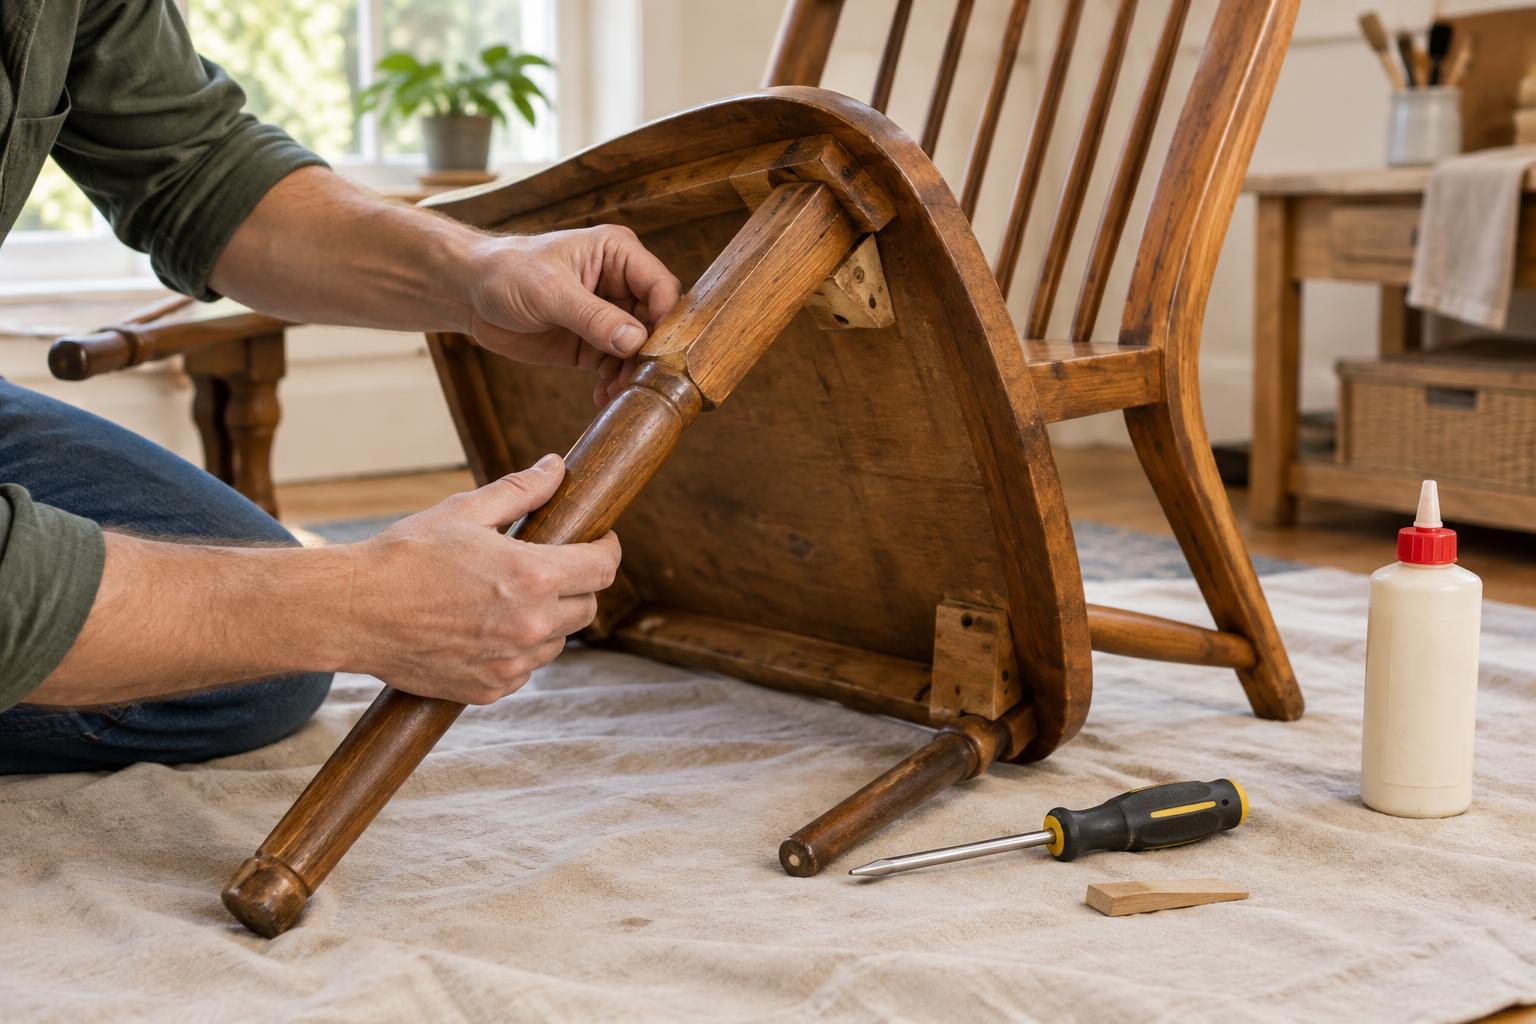
A wooden joint that shifts may need to be taken apart and reglued. Only separate parts that come apart without forcing them. Clean away loose old glue so the pieces can meet closely, then do a dry fit before applying wood glue to the mating surfaces. Reassemble, clamp with just enough pressure to hold the joint snugly, and wipe away excess glue. Follow the glue maker’s instructions for clamping and curing, and do not sit on the chair while it cures. Squeezing glue into a closed, loose seam without cleaning or securing the joint is unlikely to make a lasting repair.
Test the repair and know when to ask for help
Once any glue has fully cured, place the chair back on a hard surface and repeat your original checks. Press gently at the seat corners, inspect the repaired areas and make sure all feet contact the floor as intended. If everything feels firm, test it cautiously before returning it to regular use. Recheck fasteners after a period of normal use, particularly on a chair that is moved often.
Some chairs call for more than a home fix. Cracked load-bearing wood, bent metal, failing welds and damaged folding or swivel mechanisms can make a chair unsafe even when the wobble seems minor. An antique or valuable chair may also need repair methods that protect its materials and finish. In those cases, set it aside and consult a qualified furniture repairer, or replace it if a sound repair is not practical.