Find the gaps before buying supplies
Start with the door closed and latched. Run your hand slowly along the top, sides, and bottom to notice moving air. Then look for daylight around the edges. A thin sheet of paper offers another useful check: close the door on it at several points around the frame and pull gently. Where the paper slips out easily, the existing seal may not be making firm contact. Where it will not move at all, you may have less room for a thicker replacement.
Notice whether the draft comes from the frame or from beneath the door. Weatherstripping helps seal the small gap between a closed door and its frame; a door sweep or threshold seal addresses the bottom. If the door hangs unevenly, rubs the frame, or will not latch reliably, deal with that fit problem first. A new seal should not have to compensate for a badly misaligned door.
Choose a seal that fits the door
Check the existing weatherstripping before removing it. Some doors have a narrow groove in the frame that accepts a push-in seal. If yours does, a compatible replacement may be simpler and neater than adding an adhesive strip. For a frame without a groove, self-adhesive foam is easy to cut and apply, while rubber or silicone-style compression strips can be a useful choice for a door you open often. Follow the product’s guidance on gap size: a seal that is too thin will not help much, and one that is too thick may keep the latch from catching.
For a bottom gap, consider a door sweep that attaches to the door or a seal designed for the threshold. Check how the door swings and how much clearance it has over the floor or mat before choosing one. A sweep should meet the threshold without dragging heavily. If you rent, or if the door has a fire rating or special hardware, check what changes are permitted before drilling or replacing its components.
Measure each side of the frame and the door width separately. Bring those measurements, along with a photo of the existing seal if helpful, when selecting materials. For a typical installation, you may need a tape measure, pencil, scissors or a utility knife, a cleaning cloth, and the fasteners specified for your chosen sweep. Keep the product instructions nearby, especially for adhesive preparation and placement.
Prepare the surface and install the frame seal
Set aside enough time to work without rushing the cleaning step. Remove loose or damaged old stripping, then wipe dust and grime from the surfaces where the new seal will sit. If you use a cleaner, let the area dry fully before applying adhesive. A dry test fit is worthwhile: hold each cut length in position with the door open, and confirm that it will contact the closed door rather than stick out into its path.
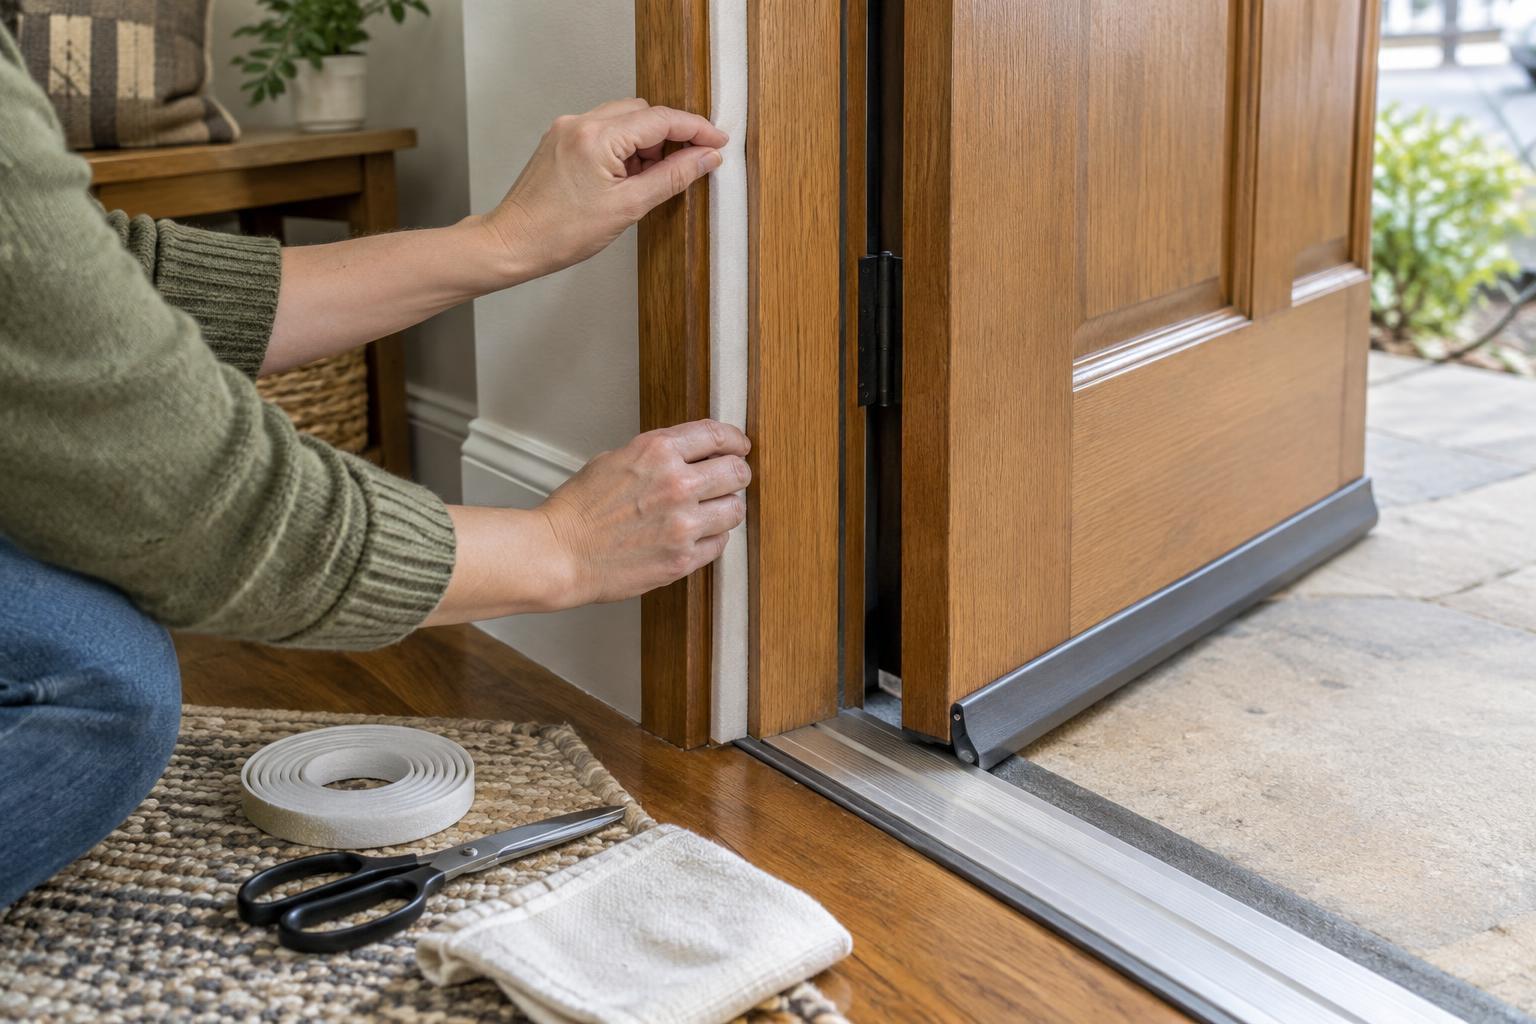
Cut the top and side pieces to length according to the seal’s instructions. If it has an adhesive backing, peel away a short section at a time and press the strip into place as you work. Avoid stretching it, since it may pull back later and leave a gap. At the corners, bring the pieces together neatly without piling material on top of itself. For a groove-style seal, press it in gradually, checking that it stays seated along the full length.
Close and latch the door after installing each section. The seal should compress slightly, but you should not need to shoulder the door shut. If the latch stops engaging, recheck the strip’s position and thickness rather than forcing the door.
Seal the bottom and check your work
Hold the sweep against the lower edge of the door and mark its position with the door closed. Adjust it so the flexible edge just meets the threshold. If the sweep needs trimming, cut it as directed by its manufacturer. For a screw-on style, mark and make the mounting holes as instructed, then attach it securely; for an adhesive style, clean and dry the mounting surface first. Open and close the door several times to make sure the sweep clears the floor and any mat.
Repeat the hand and paper checks around the frame, and look for remaining daylight at the bottom. Small adjustments to a sweep or a short section of seal may make more difference than adding another layer everywhere. Finally, check that the door latches easily and that any lock works normally. Save a note of the seal type you used; it will make replacement easier when the material eventually wears.