Start with something ordinary
If you have a free half hour this weekend, you do not need special equipment or an impressive subject to draw. A pencil, paper, and one object that can sit still are enough. Choose a mug, a shoe, a small plant, or a piece of fruit. Set it where you can see it comfortably and give yourself a clear view of its outline. Good lighting helps you distinguish one edge from another, but the setup does not have to be perfect.
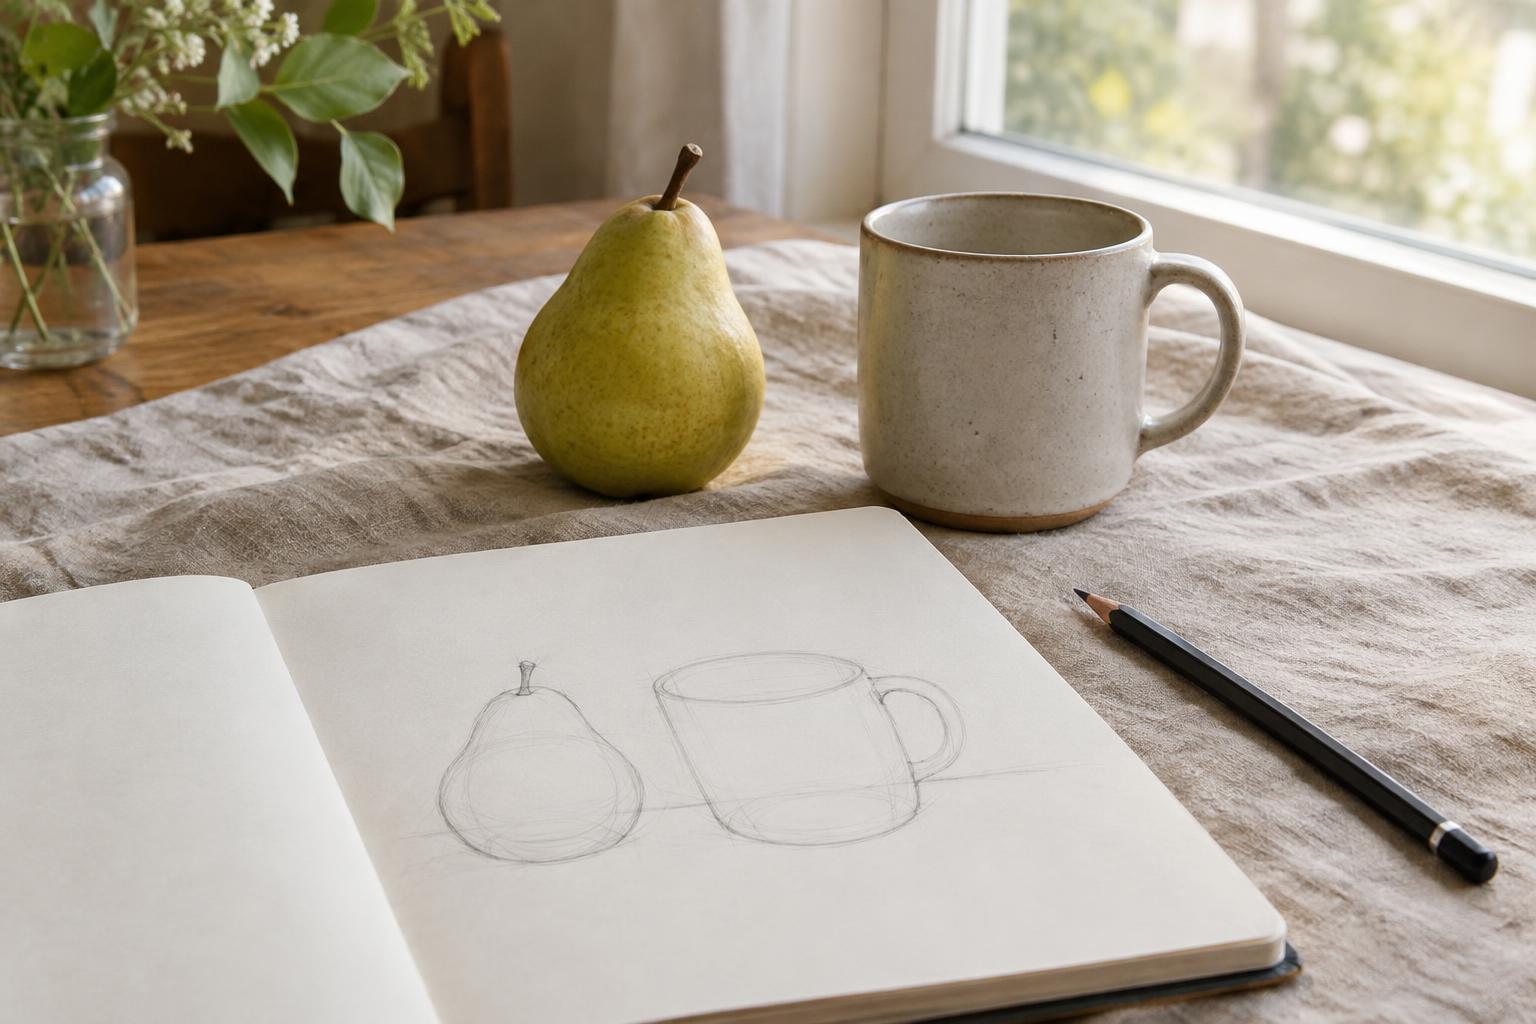
Before your pencil touches the page, spend a minute looking. Ask yourself what the object would resemble if its handle, laces, leaves, or other small features disappeared. A mug might begin as a tall oval-like body with a smaller oval at the top. A shoe might look like a long, low wedge. These descriptions are not meant to be exact. They are starting points that help you place the whole object on the page before one interesting detail takes over.
Block in the largest shapes
Make your first marks light enough to change. Draw a simple shape around the main body of the object, then add only the next-largest parts. For a mug, that could mean the body, the opening, and the broad shape made by the handle. Ignore the logo, surface pattern, and little changes along the rim for now. If the object looks awkward at this stage, that is useful information: you can adjust a few light lines rather than rework a finished drawing.
Look back and forth between your subject and the page. Notice whether the object is taller than it is wide, how much space sits above and below it, and where its widest point falls. You can hold your pencil at arm’s length to compare a height with a width, then check whether your sketch has a similar relationship. This is a rough comparison, not a measuring test. Its purpose is to catch a drawing that has become too narrow, too short, or crowded against one edge of the paper.
Use the empty spaces as clues
The spaces around and within an object can be easier to notice than the object itself. Look at the gap inside a mug handle, the triangle between a plant stem and a leaf, or the space beneath a chair leg. These are often called negative spaces. Sketching their shapes lightly can help you place the surrounding parts without trying to name every curve.
Try this with your chosen object: find one clear gap and compare its height and width. Is it a narrow sliver or a broad opening? Does it begin near the top of the main shape or halfway down? Check that gap in your drawing. If it looks noticeably different, adjust the nearby lines. You do not have to draw every space. One or two well-chosen gaps can tell you a great deal about how the larger shapes fit together.
Let details earn their place
Once the main shapes feel reasonably placed, choose a few details that make the object recognizable. On a shoe, the curve of the sole and the opening at the top may matter more than each lace. On a plant, the direction of the stems may matter more than the edge of every leaf. Add these features one at a time, checking where they sit in relation to the larger shapes you already drew.
You can also indicate light and dark areas without shading every surface. Squint at the subject for a moment and look for its broadest dark area, such as the inside of a mug or the shadow beneath an object. Shade that area gently, then step back. If more detail would make the drawing clearer, add it. If it would only keep you busy, you can stop. A simple sketch that captures the object’s overall structure is a complete practice session.
Make a small practice loop for your weekend
For a manageable exercise, draw the same object three times on one sheet. Spend a few minutes on the first sketch using only its outer shape. On the second, add its largest inner shapes and one negative space. On the third, use what you noticed to make a slightly slower drawing, adding just a few details. You can set a loose time limit for each round if that helps you begin, but there is no need to race.
At the end, look at the drawings side by side and name one observation you want to carry into your next session: perhaps the handle sits lower than you first thought, or the top of the shoe is flatter than expected. Keep the page even if the sketches feel unfinished. Drawing this way is less about producing a polished picture in one sitting and more about building a habit of looking closely. Next weekend, you can repeat the exercise with a new object or return to the same one from another angle.