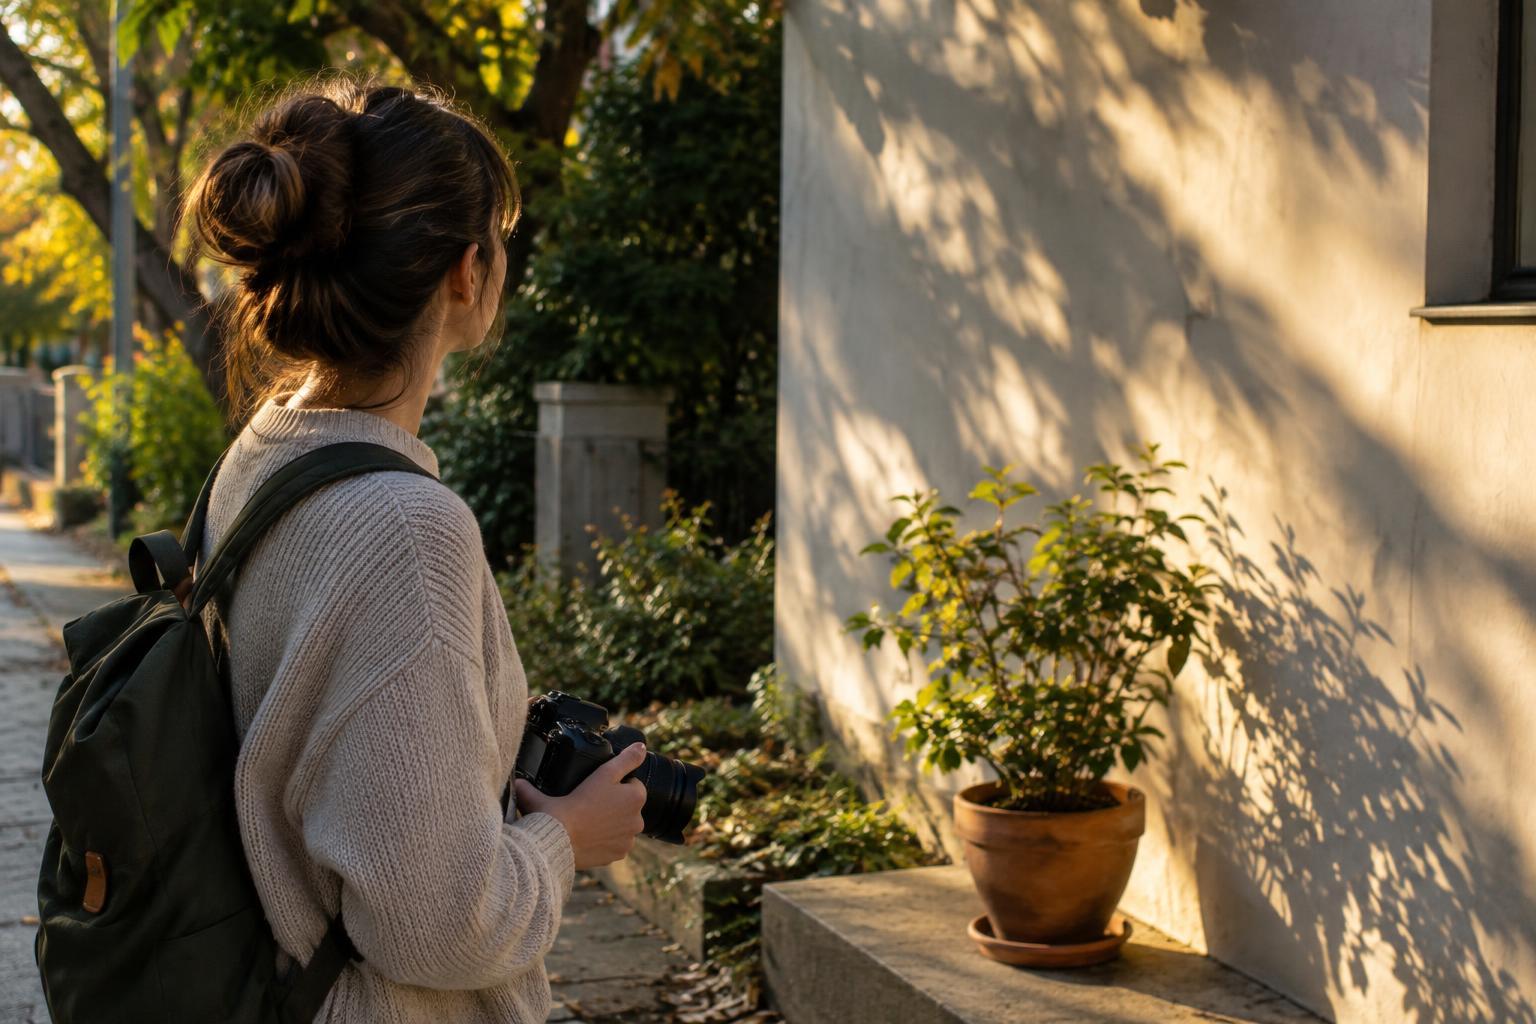
Start with what you can see
It is tempting to learn photography by memorizing camera settings first. Settings matter, but they make more sense when you know what you want the light to do. Before taking a picture, spend a few seconds looking at your subject. Which parts are bright? Where do the shadows fall? Is the background lighter or darker than the subject? These observations give you a reason to move, wait or adjust the camera.
You can practice with a phone, a compact camera or a camera with manual controls. Choose one familiar subject, such as a mug on a table or a friend sitting by a window. Because the subject stays the same, changes in the pictures will be easier to connect to changes in light. You do not need a special location or a whole afternoon.
Find the direction of the light
Light from the front tends to illuminate the parts of a subject facing the camera. Light from the side can reveal texture and shape by creating both bright areas and shadows. Light from behind may give a subject a bright outline while leaving the side facing you relatively dark. None of these directions is automatically best; each helps tell a different visual story.
To see the difference, place a small object near a window and photograph it from three sides. Keep the object in place and walk around it rather than changing several things at once. Notice whether a side-lit image makes the object look more dimensional, or whether backlighting draws your eye to its outline. If you are photographing a person, ask them to turn slightly toward or away from the window and watch how the light changes on their face.
Notice softness, shadows and contrast
Soft light creates gentle transitions between bright and dark areas. A window that faces a bright sky without direct sun often provides this kind of light. Direct sunlight usually makes more distinct shadows. Those shadows can be useful when you want crisp shapes or a bold pattern, but they may also distract from a face or a small object. On an outing, compare an open sunny spot with the shade beside a building or under a tree.
Also look at contrast: the difference between the brightest and darkest parts of the scene. A person standing in shade against a bright sky can be difficult to photograph evenly. Before changing settings, try moving so the background is shaded too, or turn to frame the person against something less bright. A small change in position may get you closer to the picture you imagined than a long search through camera menus.
Try a twenty-minute light walk
For a manageable weekend exercise, pick one block, park path or room at home. Photograph three subjects: something with texture, something with a clear shape and something partly in shadow. Take two or three pictures of each, changing only your position or the subject’s position. You might move closer to a window, step into shade or lower the camera until the background changes.
Afterward, choose one picture of each subject and ask what the light contributed. Did it show the texture? Make the shape stand out? Lead your eye somewhere unexpected? Then compare it with another version of the same subject. Rather than judging every image as good or bad, name one visible difference. This turns a short practice session into a useful lesson you can repeat whenever you have a spare half hour.
Let settings solve a specific problem
Once you have noticed the light and chosen your position, settings become tools for a clearer purpose. If the entire image looks too bright or too dark, try exposure compensation, if your camera or phone offers it. If a moving subject looks blurred and you want it sharp, a faster shutter speed may help, though it allows less light into the camera. If you want a blurry background, a wider aperture may help on cameras that let you control it.
Change one thing, take another picture and compare. Automatic mode is useful while you learn to see; it lets you focus on direction, softness and contrast without managing every control. Over time, pay attention to the moments when the camera does not match what you intended. Those moments will tell you which setting is worth learning next. The habit to keep is simple: look first, move if you can, and adjust only when you know why.