Start with clues, not a name
Bird identification can feel difficult when a small bird appears for only a few seconds. Instead of trying to name it immediately, collect a few clues. Where was it? How large did it seem? What was it doing? A short list of observations is more useful than a hurried guess based on one flash of color.
For a first outing, choose a familiar place you can visit without much preparation: a garden, neighborhood street, pond path or local park. Spend ten or fifteen minutes watching one area rather than walking quickly through several. If you have binoculars, bring them, but they are optional. A pocket notebook or phone note is enough to record what you see and hear.
Read the shape before the colors
Begin with the bird’s overall outline. Is its body round and compact, long and slender, or broad-chested? Notice the length of the tail compared with the body, the apparent size of the head, and the shape of the bill. A short, sturdy bill looks different from a long, fine one, even when the bird is too far away for detailed markings.
Posture and movement add context. Some birds spend much of their time on the ground; others cling to trunks, perch on exposed branches or move through leaves. Watch for a repeated action, such as hopping, walking, gliding or making brief flights between perches. Size comparisons can help too: “smaller than a pigeon” is easier to remember than an uncertain measurement. Lighting can distort color, so leave plumage details until you have noted the silhouette and behavior.
Listen for a pattern you can remember
You do not need perfect pitch to use sound as a clue. Listen for rhythm, repetition and quality. Is the sound a single sharp note, a short phrase repeated several times, a rising whistle or a rough chatter? Try writing a simple description in your own words. It may not match a field guide’s wording, but it can help you recognize the sound again.
Pause before deciding which bird made it. Several birds may be calling at once, and a voice can carry from somewhere you cannot see. If possible, watch for a bird opening its bill while the sound occurs. A brief recording can be useful for later comparison, provided you can make it without disturbing the bird or other people. Avoid playing calls back to attract a response; quiet observation gives you plenty to learn.
Use habitat to narrow the possibilities
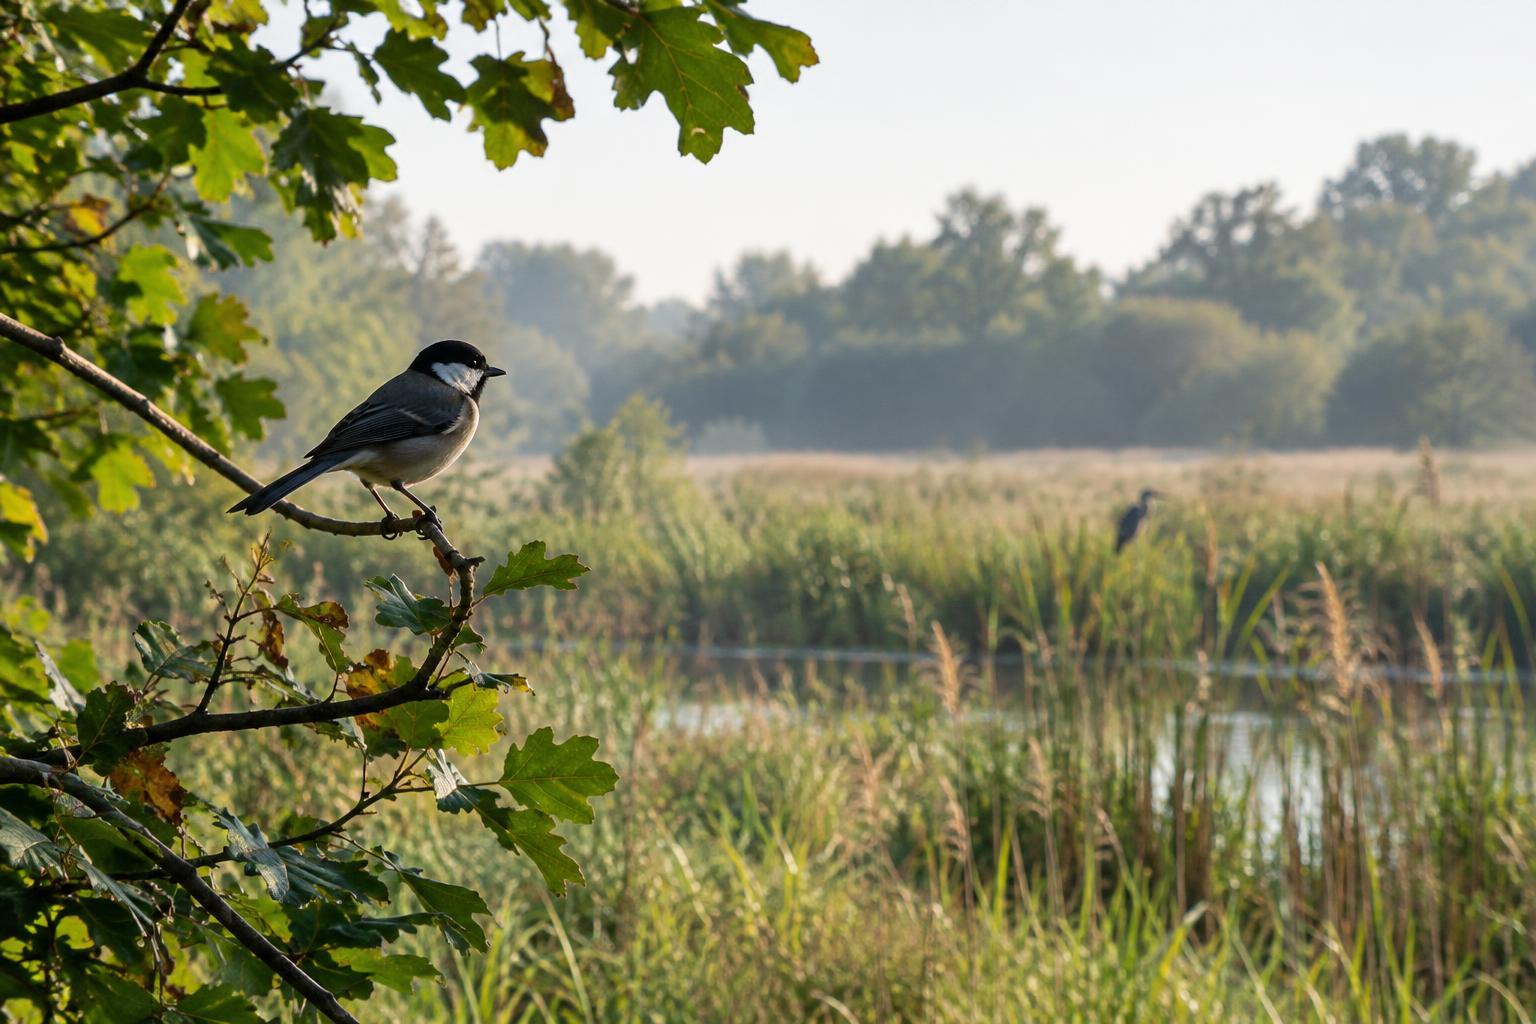
Habitat is the setting around the bird, not just the name of a park or trail. Note whether you saw it beside open water, in low shrubs, high in a leafy tree, on a lawn or near buildings. Also consider what it was using that space for: feeding, resting, moving through cover or watching from a perch. These details can point you toward a smaller set of possibilities.
Treat habitat as a clue rather than a rule. A bird may pass through an unexpected spot, especially while moving between feeding and resting areas. Combine the setting with what you observed of its shape and sound. “Small bird with a thin bill, moving through low branches and giving repeated high notes” is a stronger description than “small brown bird in the park.” If the clues disagree, keep the identification open.
Make a small weekend practice routine
On your next short outing, aim to observe three birds rather than identify every bird you encounter. For each one, jot down four things: its approximate size, one shape feature, one behavior or sound, and its immediate surroundings. If it flies away, write what you remember before consulting a guide. This keeps a later picture or description from replacing your original observation.
Afterward, compare your notes with a field guide or identification app suited to your area. Look for several matching features, not just a similar photograph, and allow yourself to record “unknown” when the view was too brief. Revisit the same spot on another weekend if you can. Familiarity with a few common birds makes differences easier to notice, and an unidentified bird still gives you useful practice in looking and listening.